Hi Julie here with a little bit of DT inspiration this Sunday.
I was inspired to make this card for my daughter's birthday after seeing this video, being on the sick list earlier this year allowed me far too much time to watch You Tube videos!
She love's butterflies and purple and turquoise colours so that's the route I went down.
Jennifer McGuire calls the technique stamped see through cards as you can literally see through the front panel!
This is how I went about the construction.
There are a lot of steps but the end result is worth it, I think.
- Cut a piece of scrap paper to 5 and a half x 7 and a half inches.
- Using some white card cut a piece 5 x 7 inches and a small top folding card 3 and a quarter x 4 and a half inches.
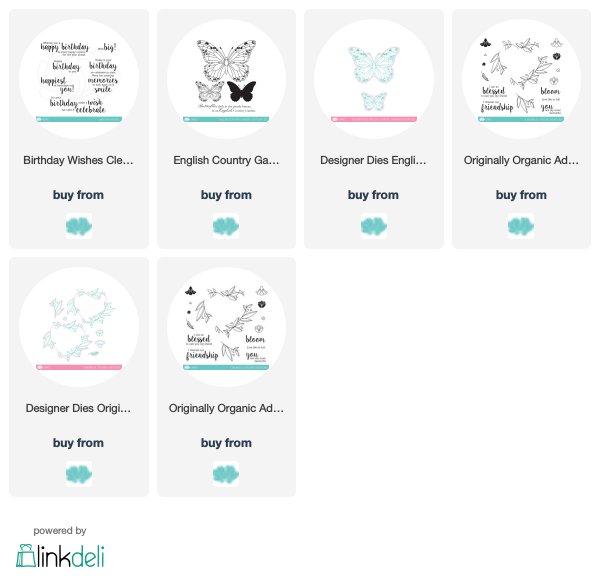
- From more of the same white card cut a few of both large and small butterflies from the English Country Garden dies. Retain the outer so that you can use it as a jig to stamp your butterflies more easily, works well especially with a MISTI.
- Place the die cut outer in your MISTI and then the stamps in the opening, close the door. Open and then place your die cut back into the space and stamp with black ink.
- Keep stamping until you have sufficient to cover your card front.
- Repeat the process with the Original Organics Additions stamps and dies. I used two of the large hearts and a few of the single sprays.
- Colour as required, I used my Zig watercolour brushes.
- Arrange your foliage and butterflies over the scrap paper, overlapping as you go. The more overlaps the sturdier your card front will be. Jennifer McGuire uses Gladwrap Press n Seal at this point but not having any, I had to secure with low tack masking tape. Trim away the overhang.
- Remove scrap paper and secure each overlap with strong glue until you have a complete panel. Remove all tape and carefully score a line about 1/2 inch from the top. This is your hinge.
- Trim the panel to be slightly less than 5 inches wide, just enough to create a narrow border against the white back panel. Hook the fold over the back panel and using strong glue, attach the front. (If you use tape tap a little talc on the exposed tape so that it won't stick to the envelope!) Trim the top panel to match the back if needed.
- To make the greeting panel, cut a piece of matching coloured card stock and a white frame using stacking dies. I used a die cut greeting from my stash but you could stamp and heat emboss one in white if you wish. Attach to the card front.
- On the small top folding card stamp the greeting on the inside, I used Birthday Wishes and glue to your panel of 5 x 7 card. This allows you to write your greeting and not spoil the effect from the front.
And that's about it.
I know that seems a lot of effort but it does make a really special card. Perhaps save it for that special person or occasion!
So there you have it, hope I've inspired you to try something a little different.


Wow... this is stunning!! Beautiful technique and so well executed. I love the colours Julie chose, makes it look so gorgeous!
ReplyDeleteOooh, this is gorgeous!
ReplyDeleteAmazing card Jules. What a fantastic technique. This would take a lot of patience and skill ... but so worth the time and effort to make a special birthday card for your daughter. Thanks for sharing this beautiful technique!
ReplyDeleteWow this is stunning and so very inspirational.....Thank you x
ReplyDeleteEchoing the others: absolutely breath-taken-away gorgeous! I watched Jennifer's video, but didn't attempt something on my own! After seeing what you've done, I'm tempted! Love this!
ReplyDeletehugs~c