Friday 19 November 2021

Uniko Challenge #68 - Celebrate + optional twist Reds & Greens

  Hello & Happy Friday!

Welcome to the November/December 2021 Uniko Challenge.

We have the super simple theme of Celebrate, with an Optional Twist of using Reds & Greens.


For this challenge we are delighted to welcome Vicky as our Guest Designer.  


How awesome do Vicky's reds and greens look? Be sure to pop over to her blog and tell her how much you love her card - HERE.

The Uniko Brand Ambassadors have also been busy creating cards to inspire you to play along. Let's see how they've interpreted the theme.


Hannelie


Are you ready to play?

Well, just in case you need some more incentive to play along with the challenge here are the details of the prizes.

Due to the current chaos around the world and here in the UK, I have temporarily reduced the value of the prizes. This is so that I can keep my small business afloat during these uncertain times. I hope you understand and will still join in on the fun.

Thank you for your continued support & joining in with the fun at Uniko.
  
THE PRIZES
  • Main Winner Chosen By the DT - £15 eGift Certificate
  • Random Twist Winner - £5 eGift Certificate
  • Random Uniko Stamps Winner - £5 eGift Certificate
  • Top 3 Chosen By DT - 150 Loyalty Reward Points

There is plenty of time to join and play along with this challenge. 
The deadline for submission is midnight (GMT) on Friday 31st December 2021.

Crafty Hugs,


Monday 15 November 2021

Merry Monday, Some Pastel Christmas BA Inspiration

Good morning, Julie here with a little bit of festive inspiration. I've been wanting to try the floating strip technique for awhile and decided to turn the end result into a Christmas bauble. I originally thought of a simple circular one but in the end I used a really ancient bauble die as well!

Here are my two cards. 


The technique is the same whether you use a basic circle die or a more complex shape die to create your bauble. All you need is a piece of acetate slightly larger than your die and some strips of card!
To make mine, I used Background Builders Christmas and Background Builders Christmas 2018 and a variety of pastel coloured card for a non traditional look. Some elements I heat embossed with white EP, others I simply stamped with ink. You could just use some bits of DP as well.
Using double sided tape I added the strips to my acetate background, leaving a small gap between each one. I used some scrap acetate that was from an old brochure, you don't need the good stuff. When covered, I trimmed off the excess.


Then, using a circle die I cut into the acetate panel, a couple off passes might be needed depending on the thickness of the acetate. If it doesn't work after a couple of runs through your machine repeat or remove the die and carefully run a pair of scissors around the impression to free the die cut.


I repeated these steps to create the decorative bauble die also and added a fixing using the matching die in silver and a cut down one from another die for the plain circle one.


Once I had completed each bauble I was ready to create my cards. After a bit of toing and froing, I used a Gelli plate background using the Let it Snow stencil for one and kept the other plain.


I used a 51/2" square base card, matting the stencilled background on some silver paper before adding the bauble. I used pads down the middle and glue along the edges to give it some shaping. A simple silver chord bow and a trimmed and fussy cut, white, heat embossed sentiment from Christmas Wishes on black completes. I fussy cut the sentiment as I wanted it to look a little lighter than using a solid sentiment panel.

My second card has the bauble attached as before but onto a linen effect, white, A6 note card and a simple stamped sentiment.


So that's all from me. I hope I've given you an idea to help you make your Christmas cards. I think I'm almost there with my Christmas makes but there are always last minute ones to make!

Stay safe out there 'til next time and keep crafting.

Saturday 13 November 2021

Brand Ambassador Inspiration - Silhouette Christmas Card

Bonjour !

 It's Izzy here with three inspiration cards that I'm combining with the current challenge over at Less is More where the theme is Silhouette.

As I used Uniko stamps to make my Less is More card, I wanted to give even more love to my Uniko products. Moreover, Christmas being in a little bit more of one month, I thought it was a great opportunity to do more Christmas cards.


I went on with a triangle background (as for my LIM card) but this time I chose a red background using Distress oxide inks Candied Apple and Picked Raspberry.


I used the Winter Botanicals: Sweet Broom to make the silhouette, a sentiment from the Christmas Sentiments set and to give a more festive look I stamped in black, part of the Background Blocks Pinstripe II on the side edges and I gold heat embossed the ends of the stripes.


For my second card, I chose the Flower Power #1 stencil to make the background in pink shades with Distress Oxide inks: Spun Sugar, Kitsch Flamingo, Worn Lipstick, Picked Raspberry.


Then to make the silhouette I used the Rustic Christmas tree and I finished with another sentiment from  the Christmas Sentiments set.


For my last card, I changed my card format, I directly made a rectangle on the card base with Washi Tape and I blended Salvaged Patina and Evergreen Bough Distress oxide to make the background.


Then I stamped the Happy Days image as well as a branch of the Season of Beauty set to make the silhouette. To write the sentiment, I used letters of the Alphabet Outlined set and I gold heat embossed them.
For a more festive look, I used a gold gel pen to highlight the foliage outlines. 

And now here is a sneak peek of the card I made for the Less is More challenge...


All these cards are one layer cards, quick and easy to do and perfect for mass production if you are late in making your Christmas cards. 
I hope that I inspired you and that you are now ready to prepare your Christmas cards stock and/or to come and play along at Less is More.

Thanks so much for visiting today. Have a fabulous weekend, stay safe and get crafty !


Tuesday 9 November 2021

Brand Ambassador Inspiration - Creative Christmas

Good Morning all, 

Steph here today. For my Uniko Brand Ambassador post I thought it would be quite nice to showcase a different way to use some Uniko non Christmas stamps mixed with the traditional Christmas sets for creative Christmas projects. 

My first card uses Uniko Background Blocks Doodle Flower stamp teamed with the more recently released Uniko Doodle Flowers stamp set. I have used red and green for the petals to resemble a Poinsettia. The sentiment is from Uniko Simply Said Blocks Christmas stamp set

My second card uses the foliage silhouette from the Uniko Just Because stamp set and I have teamed it with some white berries to create a hanging stem of mistletoe. I have used chalk ink over the black card in order for it to show up. The sentiment is a mixture of Uniko Christmas Sentiments stamp setUniko Most Wonderful stamp set and Uniko Big & Bold Hugs stamp set.

My final card for today uses Uniko Flower Power #3 stamp set. I have stamped the solid floral in two shades of green before fussy cutting and turning upside down to build my Christmas tree. The decorative elements have all come from the recently released Uniko Pattern Building Christmas Tree stamp set teamed with a sentiment from the Uniko Simply Said Blocks Christmas stamp set.

I hope you like my three cards today and that I have got you thinking about different ways in which to use your stamps. 

Much love

Steph x

Sunday 7 November 2021

Brand Ambassador Post : Background Blocks - Pinstripe II

 Hi there!

Hannelie here today with a set of cards so quick and so clean and so simple . I just realised again that cardmaking doesn't have to be complicated to be fun !

I started off with the intention to make five cards (the first five photos) and then the idea came to (sort of) combine a couple of them on one card... 

All you need is a background stamp, a sentiment stamp & some colored card stock . A couple of geometric dies or punches would make it even easier 😊

Inspiration for the designs come from some mid century posters like THIS pin combining bold color blocks with stripes. The color block provides a great spot to place the sentiment!


Here's the card with the combination of elements :


... and the complete set !


I used :


Thank you so much for popping in today! 

I hope you feel inspired ♥

Hannelie

Thursday 4 November 2021

Brand Ambassador Inspiration - Rustic Wreath Spinner

 Hello everyone!

It's Jane here today sharing a fun interactive Christmas card.


I used a Jennifer McGuire tutorial as my starting point and adapted it to suit Uniko's Rustic Wreath.

I prepared the base card first and added a button to the centre - this is what will allow the wreath to spin.


Next I stamped the wreath from Rustic Wreath and then die cut it into a doughnut. I matted it onto a second doughnut to give it more stability and this also covers the rough edges from the die cut which could impede the movement.


The wreath doughnut is then placed, but not adhered over the button. The button and central hole need to be a fairly close fit to stop the spinner from looking lopsided when stood up.


Finally I stamped a greeting from Rustic Wreath and die cut it into a circle which I then adhered to the button.

Here's a little video of how the wreath moves.


Thanks so much for looking today. I hope you enjoyed my card and may be inspired to create something similar. Remember to share your Uniko makes on social media using #unikoltd.

Stay safe and keep crafting!

Jane

x


Tuesday 2 November 2021

Two For Tuesday - Stencil Mid Century Modern Shapes

 Hello & Happy Tuesday!

Did you see my post yesterday? In case you missed it you can catch up HERE, there is a giveaway 😉 and I've introduced the product I'm using today, Stencil Mid Century Modern Shapes.

So as it is Two For Tuesday I have two more cards to share using this fun stencil, lets have a look at what I made...


First up I went for a Mid Century Modern style card and I actually used the whole stencil as it is. I selected some colours from Catherine Pooler Spa Collection, Paradise Found. Peppermint Scrub, Mandarin Spice, Sauna and Green Tea. 


I simply applied each colour through the stencil and then stamped the Background Block Mid Century Modern in black ink over the top. It needed a sentiment to break up the pattern, so I chose to stamp the word WISH using Alphabet Outlined.

For my second card I went back to using the stencil to create masks of 3 of the shapes. I then temporarily adhered them to my card base and ink blended 4 Concord & 9th ink colours, Buttercup, Marmalade, Honeysuckle and Eggplant. 


Once I removed the masks I stamped the foliage from Season Of Beauty and the trio of dotted pattern from the same set in black ink. The sentiment is from the newest addition Simply Said Blocks III


I have SO many more ideas with this stencil, so I am sure it won't be long before I share more! Until then, thank you for stopping by today. 


Crafty Hugs
 

Monday 1 November 2021

NEW Month, NEW Stencils, Giveaway AND an Offer!

 Hello! 

Happy Monday and happy November 😊 What a lovely end to October at the weekend with the Stamping Together Festival. It was strange, but super lovely to be back at the show after two years. Seeing new and familiar faces and sharing our love and passion for paper crafts and stamping.

On Saturday I shared this peek on Instagram of two NEW stencil designs I took to the show. I was intending on releasing them yesterday on the website, but exhaustion from the weekend caught up with me. AND the Beans were super excited about Halloween 😂

Anyway, I am excited they are now available on the website HERE. So let's have a look at the newness with a formal introduction and some samples...


First up is the next addition to the Flower Power series of stencils and Flower Power #5. I am loving the larger size of these modern florals and they definitely breathe new life into the stamps too. 


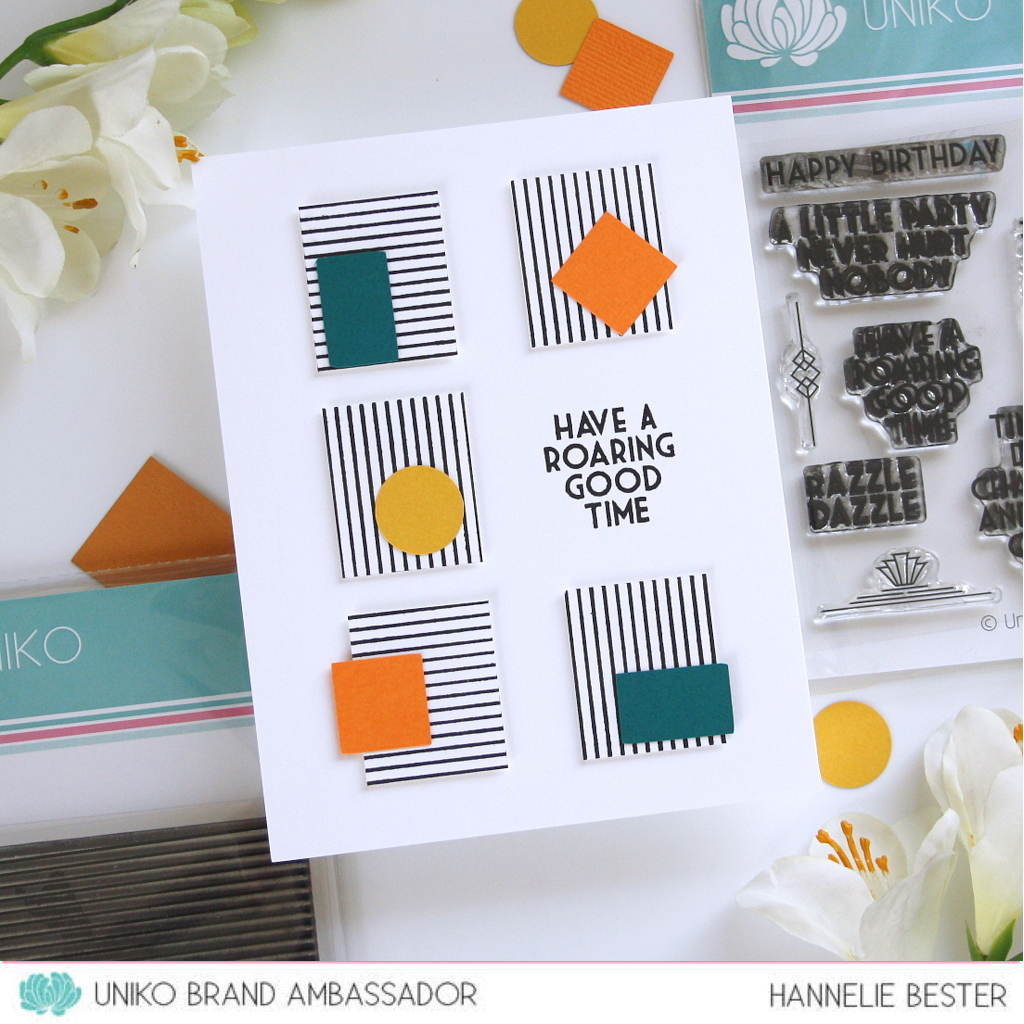
Then we have Mid Century Modern Shapes. This stencil is the next product in my love for all things Mid Century Modern. I have more up my sleeve that will be coming soon ;) but for now this is a fun addition to the previously released Mid Century Modern stencils and stamps.


So, now I have done the 'formal' introduction to these two beauties, how about some creative inspiration as to how I have used them...

First up some flower power...


For this first card I kept things really simple. I love offsetting these larger blooms off the edge of a standard size card. I love how it draws focus. 


I used Concord & 9th inks in Buttercup, Marmalade and Honeysuckle to blend through the stencil and added a simple sentiment from Simply Said Blocks and Simply Said Blocks III.


For my second card using this stencil I revisited a technique I've used before. Creating a ghost outline by inking through with white pigment ink first. Then removing the stencil and offsetting before inking with your chosen colours. 


It creates this lovely shadow effect. I used Distress Oxide Inks in Kitsch Flamingo and Picked Raspberry. Added a sentiment from Floral Vines (back in stock 22nd November) and some clear Nuvo Drops.


Then I had some fun with the Mid Century Modern Shapes and combined it with a few stamps from the collection, that will be back in stock 22nd November.


For this first card I layered two of the same shape to create a base for my focal point using two shades of pink from Altenew, Pink Diamond and Pinkalicious.


I then created a mask of the smaller shape I had used, rotated the stencil and placed the mask inside the large shape to create a framed image. I accented this with some explosions from Mid Century Modern Florals and a sentiment from Simply Said Blocks. 


Lastly for today I created a super CAS masculine congrats card. Again I used a masking technique with another of the shapes to create this fun design.


I love this starburst / explosion image, which you can also find in Kindness Blooms ;) and again added a sentiment from Simply Said Blocks.


So what do you think? Which is your favourite?

I do hope you like these two new additions to the Uniko Stencil line up 😊  So how about a GIVEAWAY?! 

Simply leave a comment on this post or HERE on the Uniko Website post (or both) for your chance to win these two new stencils plus 1 of your choice from the store. You have until midnight GMT Sunday 7th November 2021 to comment. 

Now, that's not all for today. I have a Stencil Offer from NOW until 5pm Friday 5th November.


Visit the Stencil section on the website HERE 😊 


Crafty Hugs