Showing posts with label Birthday Wishes stamp set. Show all posts

Wednesday, 24 August 2022

Brand Ambassador Inspiration - Natures Treasures II

Good morning!

Anita here with some Brand Ambassador inspiration for you and for today's projects I've chosen to use an oldie but definitely goodie.  The Natures Treasures II Clear Stamp Set is one of my most favourite leafy sets in my stash, I just adore the design, and love the fact that Uniko also have the same design in a stencil and mask set too. 

For all three of my projects today I've also used sentiments from the Birthday Wishes Clear Stamp Set.

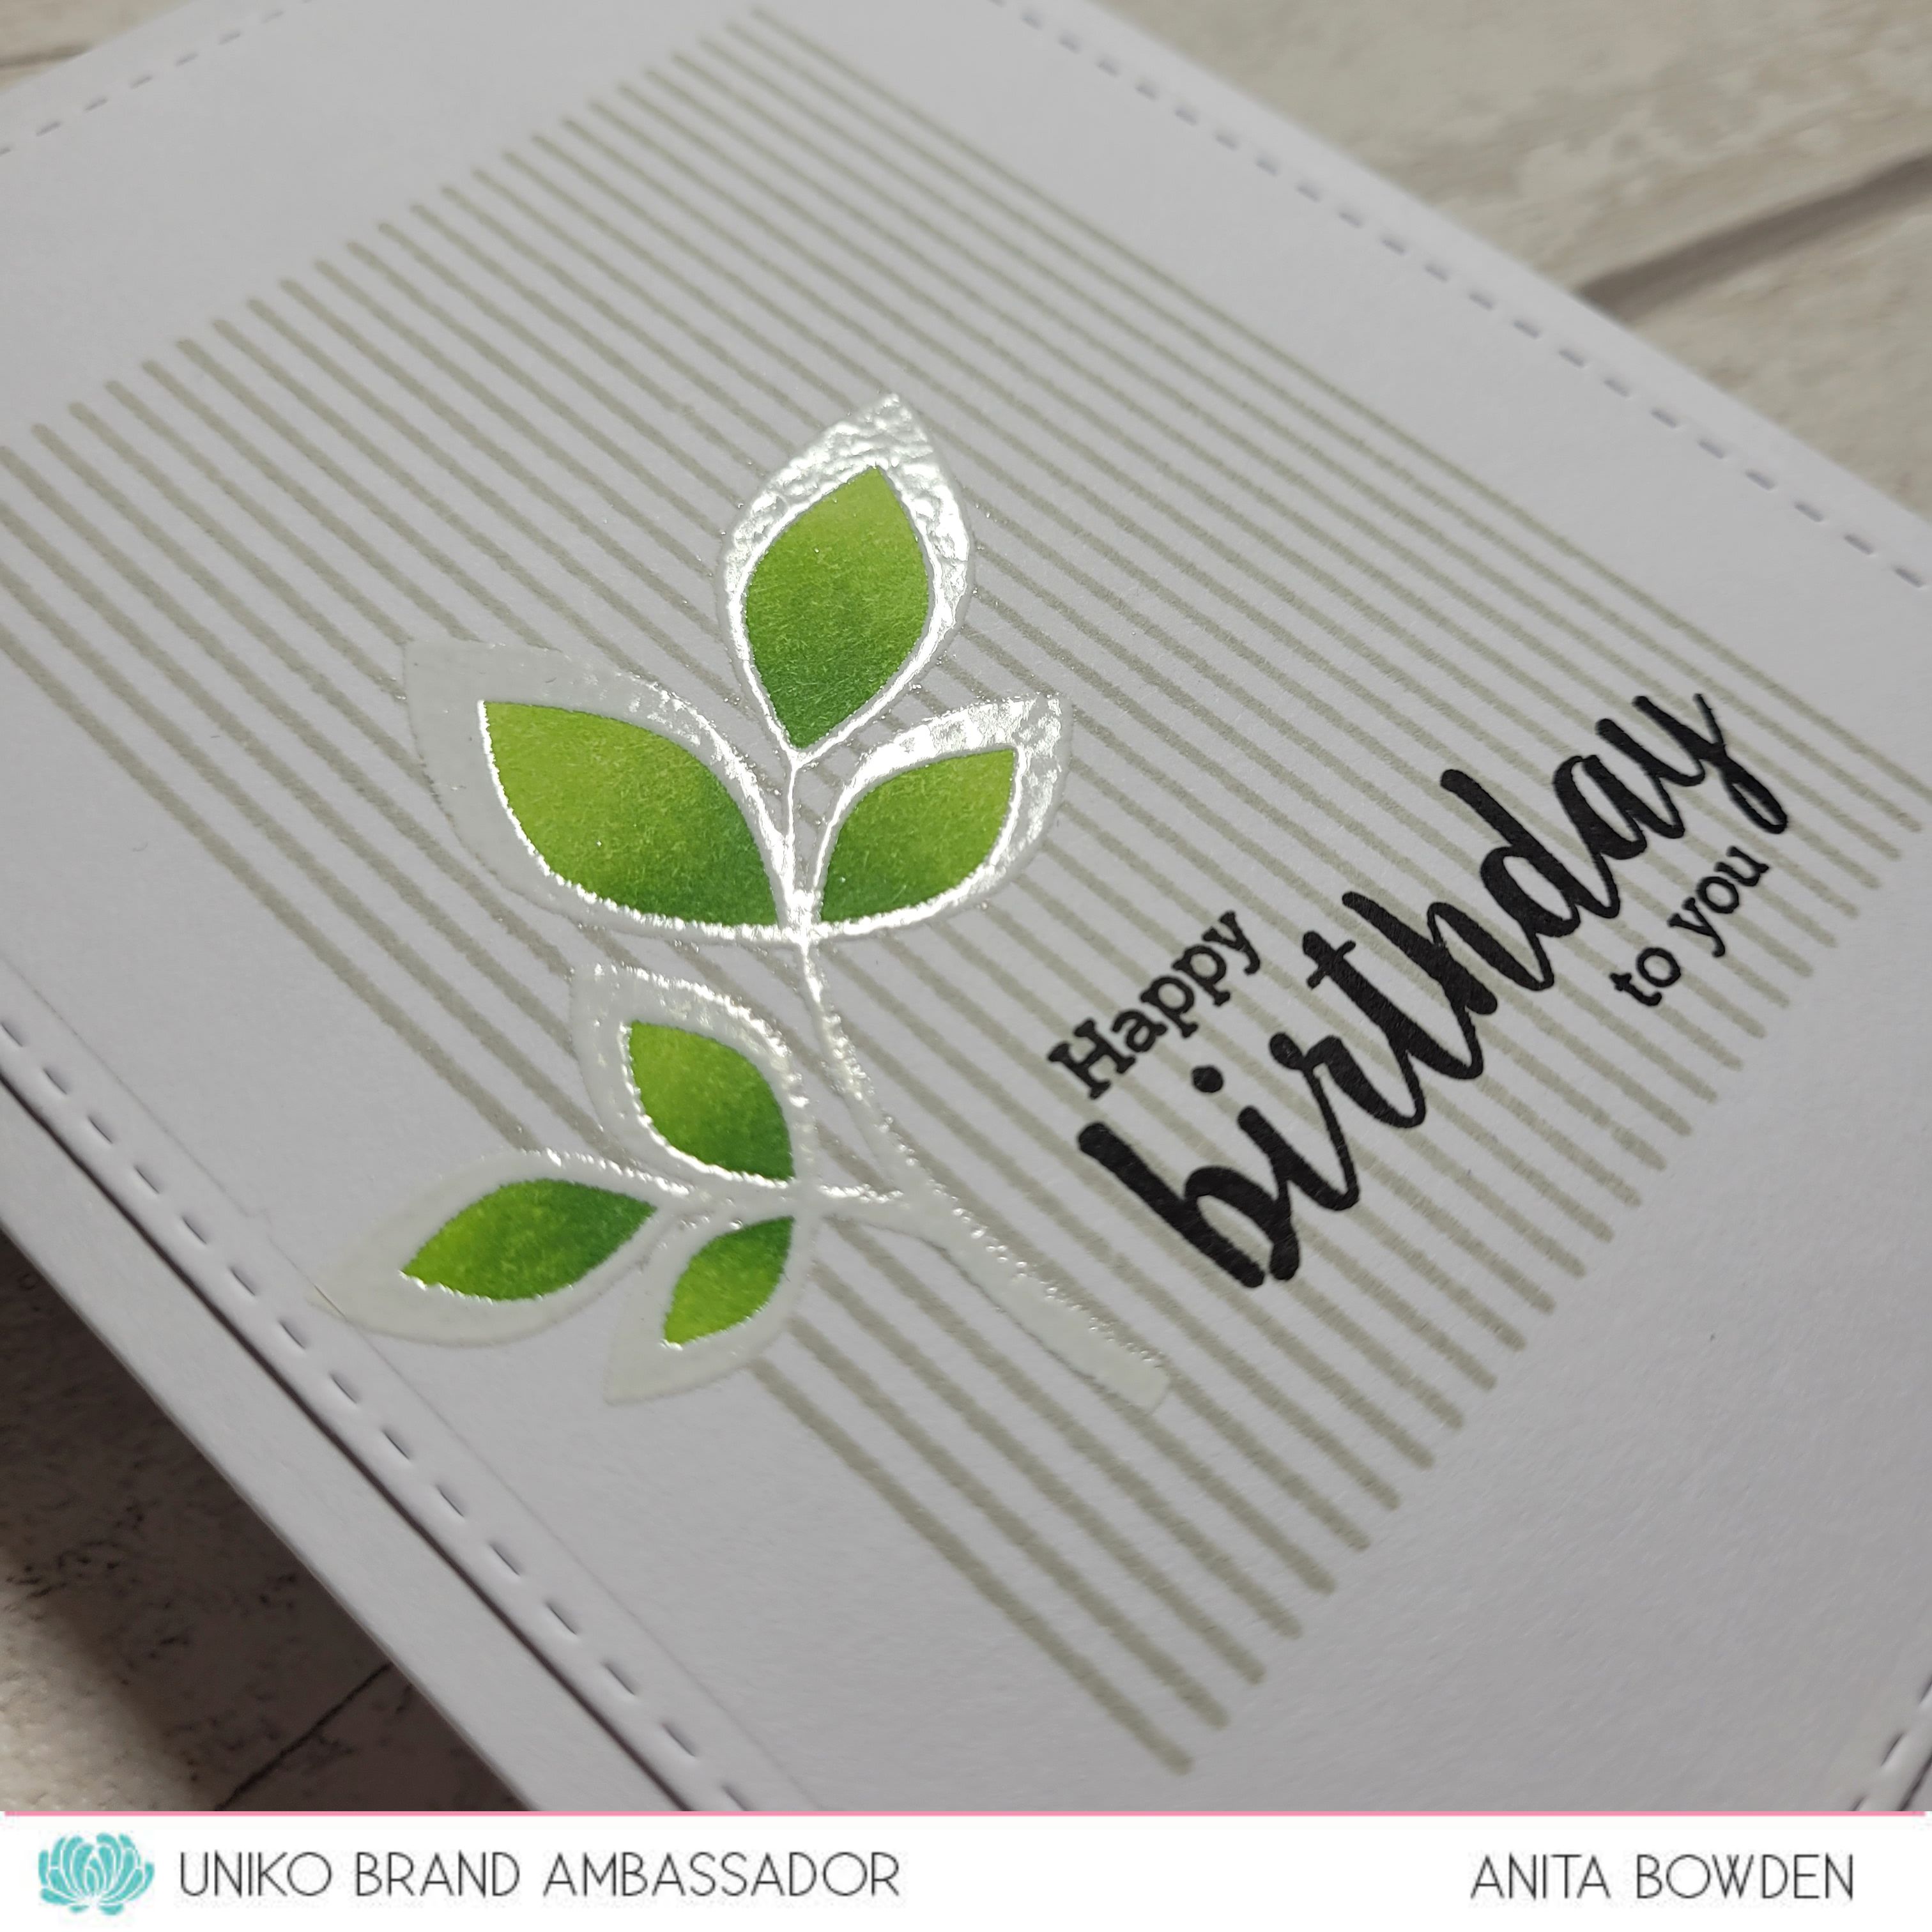
Ok, first up I've done a little masking and paired the leaf image with the Background Blocks Pinstripe Clear Stamp...


Firstly, I stamped the leaf image in a pale ink before colouring the inside of the leaves with Copic markers.  I then masked the leaves in order to stamp the pinstripe background without going over the centre of the leaves.  Once dry I then re-stamped the leaf image in Versamark before heat embossing in white.  I finished by stamping the sentiment in black before adhering the die cut panel to the card base.


Next up I used the stencil...
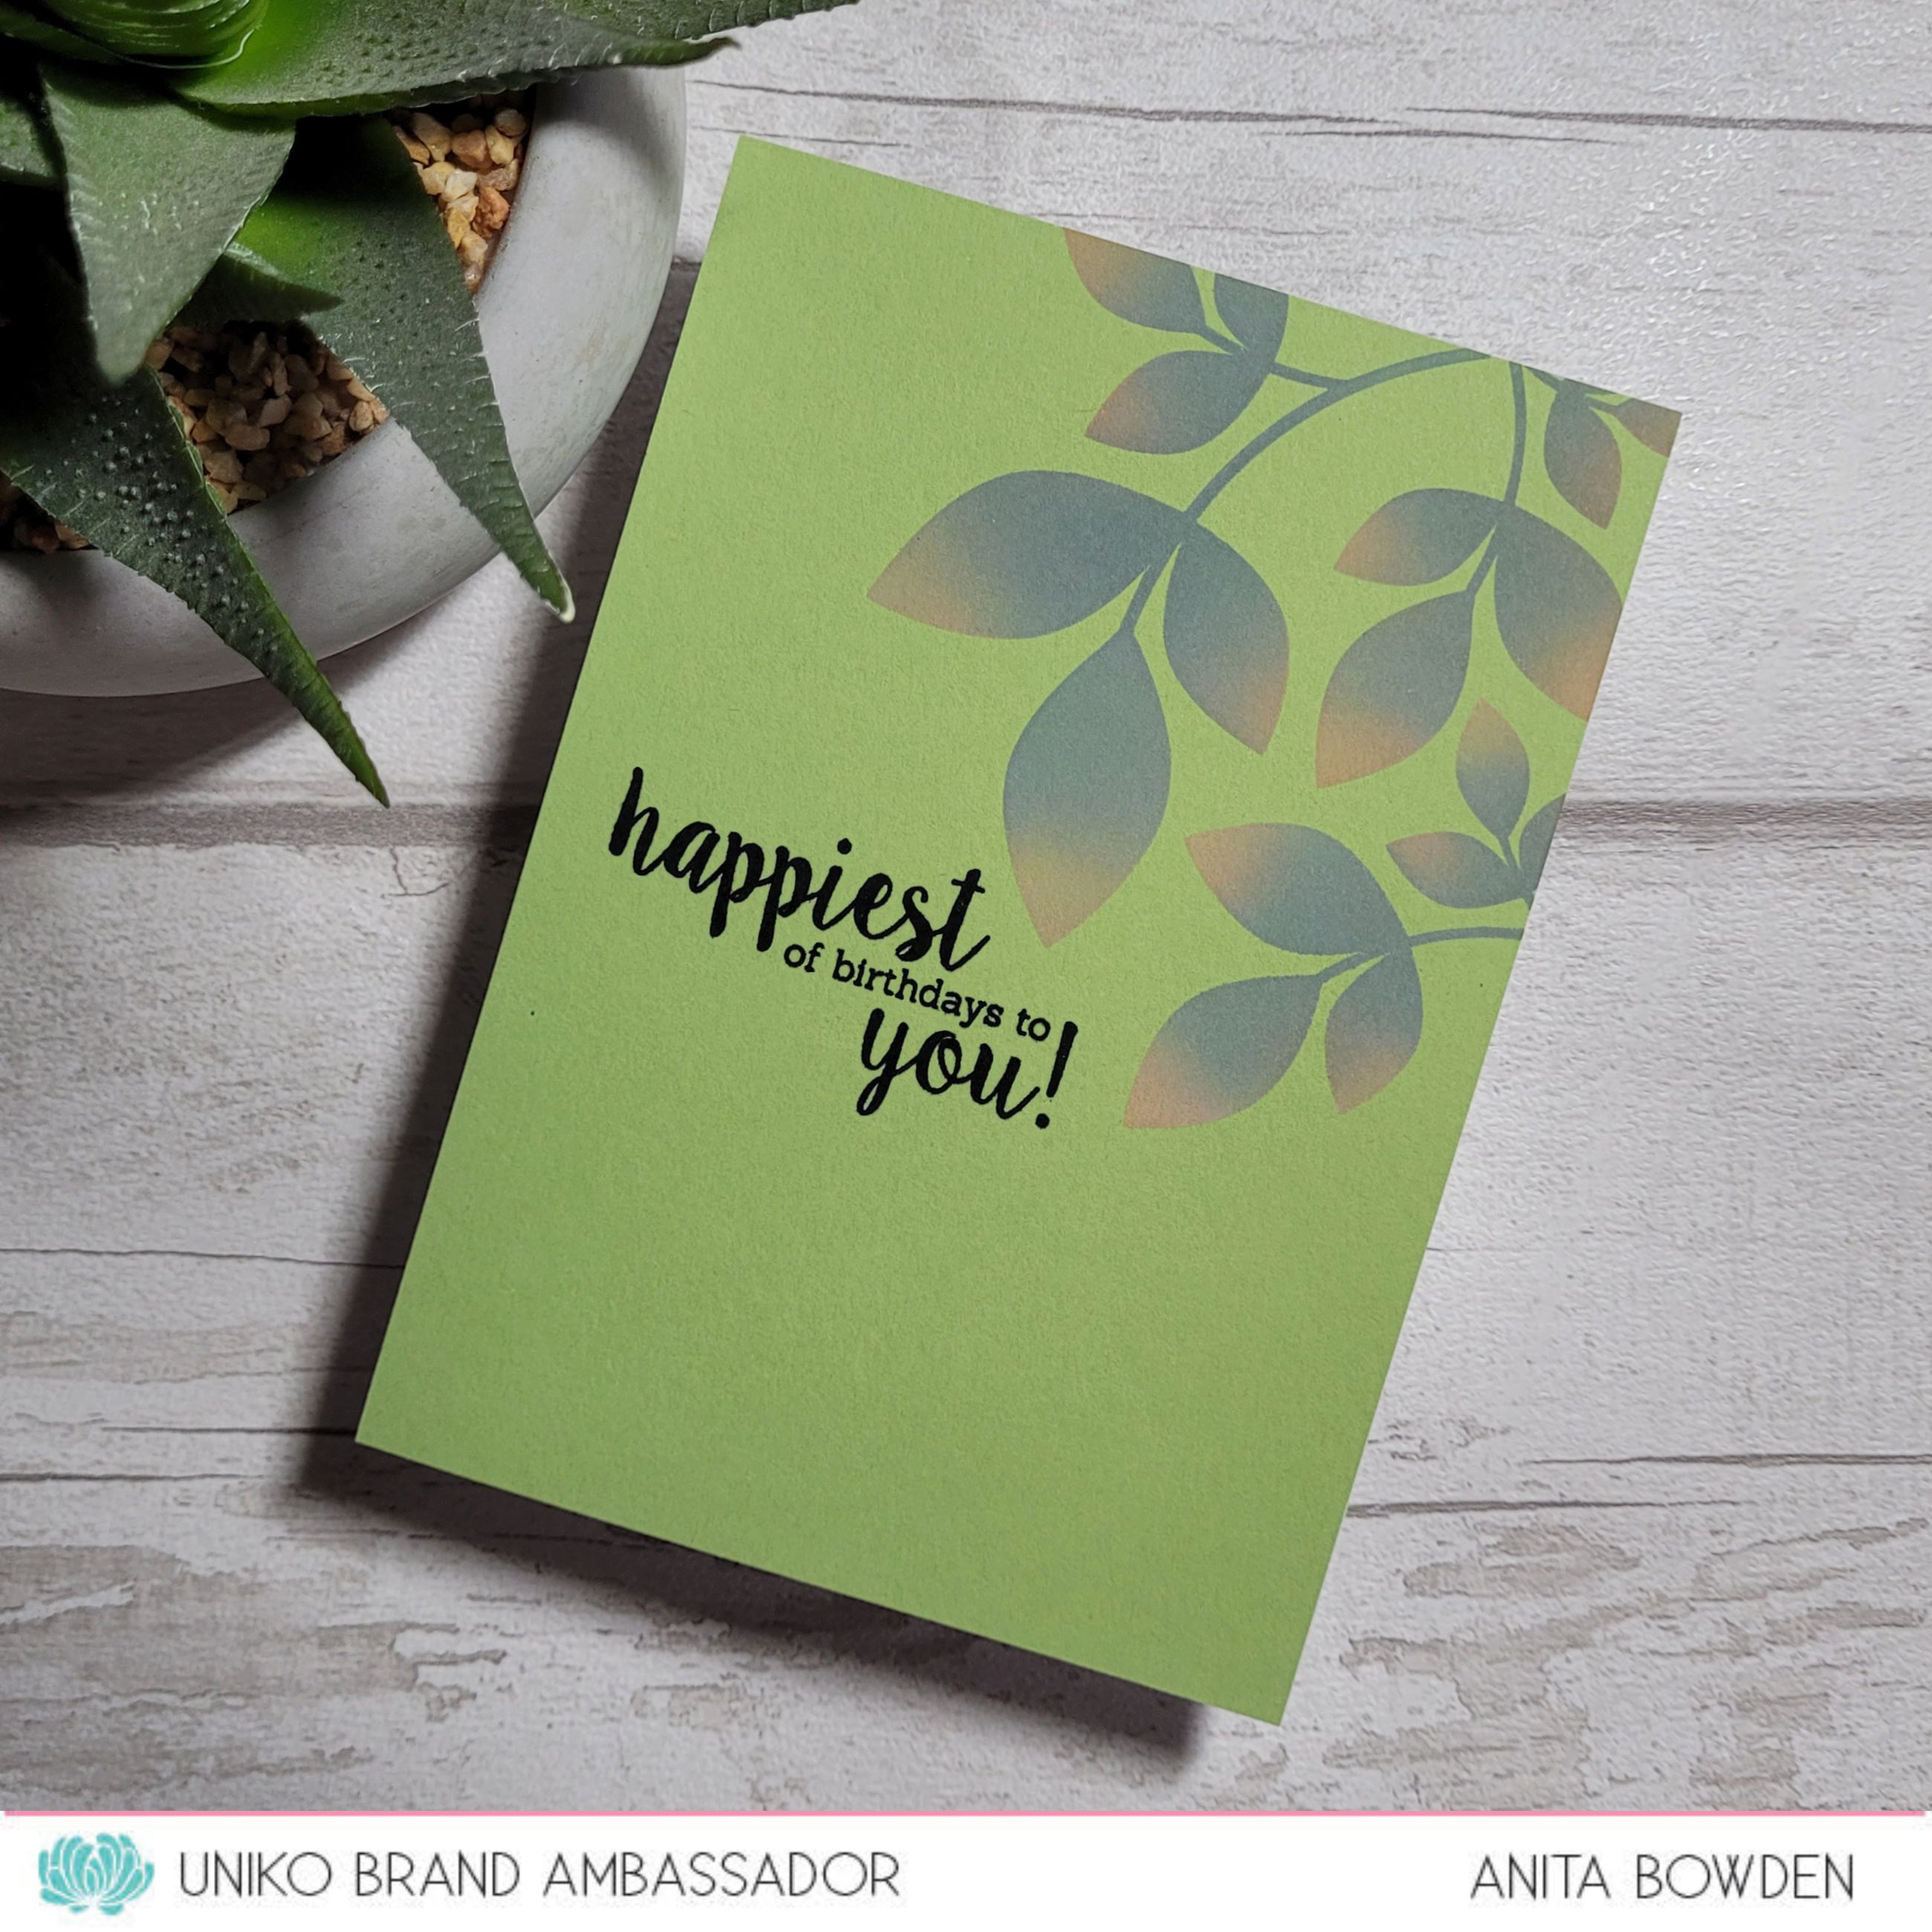

This one layer card was super simple to make and for a change I chose a coloured card base.  I used the two different sized images from the stencil to ink blend the leaves in Distress Oxides in Iced Spruce and Dried Marigold.  Finished with a sentiment stamped in black.  


And finally, just some stamping and embossing..


I stamped the leaves in green and re-stamped with some subtle brown ink on the tips of the leaves, then stamped again with the green to blend it out.  I stamped the flourishes from the set and heat embossed these in gold and copper, and finished once again with a sentiment stamped in black.  


I hope you like these and that it encourages you to dig out some older items in your stash.  I'm not quite ready to say goodbye to summer yet but autumn is starting to creep in, we've had such dry, hot weather here in the UK so some of the leaves are already beginning to change.  So that's where I got my inspiration for these cards.

Enjoy the rest of your week.  We have a bank holiday this coming weekend here in the UK so I'm certainly looking forward to that extra day off!

Stay safe, sending crafty hugs


Thursday, 24 June 2021

BA Inspiration, English Country Garden Stencil Bundle

 Good morning peeps, Julie here with another card featuring the fabulous English County Garden Stencil bundle. Yesterday was my daughter's birthday, so when I saw the new stencils I knew I had to use them for her card, but as it was after the reveal and blog hop, I had to save it for later to share.


Nich loves a butterfly and these are her favourite colours, and of course which girl doesn't like a bit of bling too!
The design is much the same as this card I made for the big reveal on Sunday but with a totally different colour way.
Starting with a panel of white card, I stenciled over using the veined butterfly stencil with a mix of Salty Ocean and Wilted Violet DI for the wings and Black Soot for the body and antennae ends using a blending brush. The antennae themselves were added using the block outlined butterfly and a delicate brush of Hickory Smoke DI.
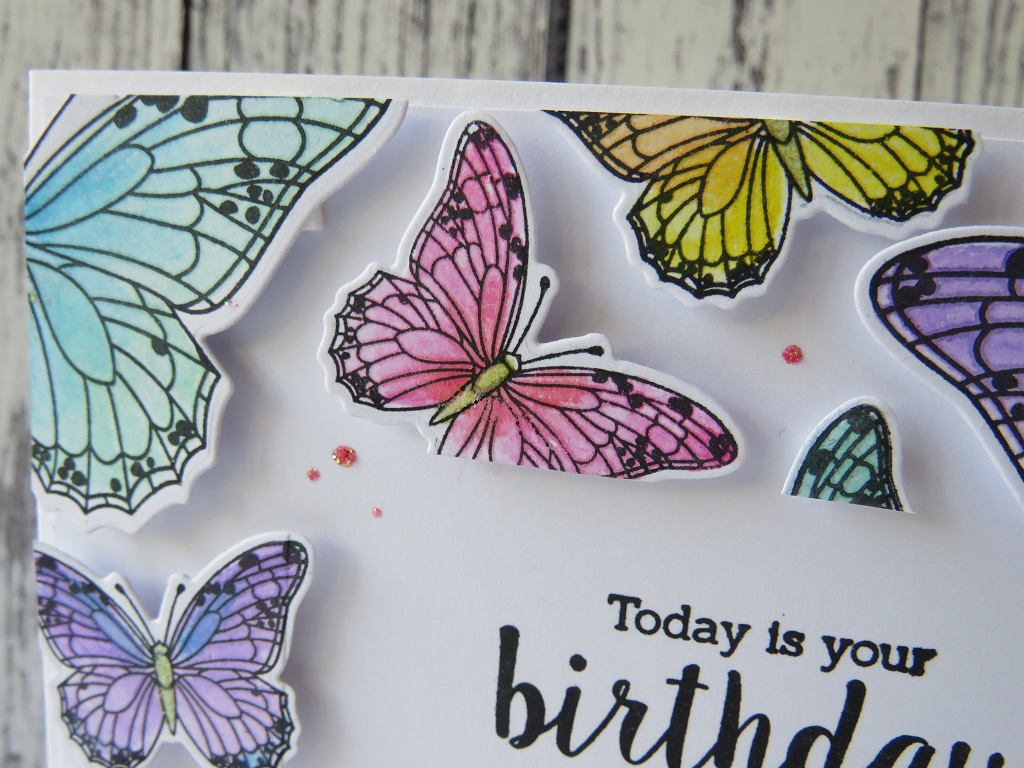
To create a sense of movement, I cut my panel with a rectangle die with the butterfly hanging off the edge. This is a simple but effective trick. First you decide where you want the butterfly then lay your die over it, marking where the image crosses the die. Remove the die then carefully cut around the image where it is outside the die and a small amount inside, about 5mm is all you need. These closeups show you what I mean as I forgot to take a pic as I was working!


Now you simply slide the die under the wingtips and cut as normal. Because the tips are above the cutting edge the remain in cut!
A panel of textured silver card was added below to create a bit of a sparkly frame and then the whole panel was added to a 5x7 white card base on foam pads. The sentiment from Birthday wishes was stamped in black and heat embossed with clear EP, much easier than trying to use black EP where there is always a tendency to get little dots of the EP all over despite using an anti-static bag! A few sequins complete.
Hope I given you another reason to get out that stencil, there's loads more ideas on the Uniko blog here and also on the BA's blog. There's still time to hop along with us for the chance to win the June release.

That's all from me for the moment, stay safe and keep crafting!

Tuesday, 15 September 2020

Stencils and Sewing - Brand Ambassador Inspiration

Hello Friends, Rahmat here. I am up with some more stenciling and sewing. Today I have used Uniko stencils for this.

For the first card I chose the Mehndi Mandala stencil and inked it up in black soot distress ink, and then pierced the holes along the negatives around the design to add stitches. I stitched a green flower sequin for the center.

I then trimmed the panel and added green glitter strip to the top and bottom.

The sentiment is from Birthday wishes set.


The second card is made using the Natures treasure II stencil and mask
I used a circle mask and then added the leaves around it.

I inked these leaves in fall colors, and then added the stitches with a brown floss. I used outlined start sequins to stitch around the circle to create a frame.

The sentiment is partly from stash and the the "friend" is from All Occasion sentiments #3.


I hope you like the inspiration today and do try out this, it opens up a whole new possibilities with the stencils.

           Thank you for stopping by, I really appreciate your kind feedback. Have a great day!     


Monday, 17 June 2019

Uniko Studio DT Inspiration...Balloons Shaker

Hello,

Carol here, warmly welcoming you to my Uniko Studio DT showcase, where I bring out a few of my Uniko Studio products to give them some extra love.  

I've noticed, as I'm sure many of you have, a trend of balloons - stamps, dies, stencils - appears to be popping up everywhere. So...as one *very* influenced by trends *grin*, as well as by a number of designers who balloon cards are blowing me away, I decided to follow suite, in creating a relatively simple stenciled balloons shaker birthday card. Nothing fancy-schmancy, but hopefully a design that will bring a smile...


Sentiment: Birthday Wishes
Stencil: Balloon Bash
Distress Inks, Studio Katia sequins

Nothing fancy-schmancy, but hopefully a design that will bring a smile...especially to those of you who find balloons as uplifting as I do! 

~carol


Wednesday, 29 May 2019

Easy Twofer using the Floating Die Cuts technique

Good morning .......

It's Linda here, with a fun little project using the English Country Garden Butterflies clear stamp set, and the matching Designer Dies that were released earlier this month.

I'm sure you've seen, what some people are calling ........ Floating Die Cut Frames.  A really fun technique of using stamps with matching dies to create cards where the die cuts look like they are just floating.
It's also a great way to create two fabulous cards in one, which is always a winner for me.


I first saw Jennifer McGuire using this technique on YouTube, and thought it would be perfect to use with these stamps and dies

To start, stamp a whole bunch of the butterflies, using both sizes, onto plain white cardstock  (if you don't like colouring, you could always stamp these directly onto coloured cardstock instead)
Using the matching dies, cut out each one.

Cut a piece of white cardstock to fit the front of your cardblank (mine was  a 14cm square card)  On to this arrange the die cut butterflies, filling the whole piece of card, leaving a little bit of space in between each of the butterflies, and making sure that some of them go over the edges.

Now for the magic ingredient ...... GLAD Press n Seal


I discovered this through Jennifer McGuire and I managed to find it on Amazon.  It's kind of like cling film, but one side is sticky, a bit like low tack tape.

Place this over the top of the butterflies, trying not to move them around, and press down.
Trim off any excess around the edges of the card.

Next, use a die to cut out the centre, I used a square but you could use a circle, a rectangle, an oval, even a heart.  Place this on top of the Press n Seal and secure with low tack tape.
Before running it through your die cutting machine, remove the piece of cardstock from the back.  Don't worry, your die cuts will stay in place.

Once you've die cut the centre, take the middle bit out, and then place foam pads on the back of each of the pieces left, forming the frame (this is where I realise I should really have taken step by step photos, but hopefully you're following me)

Place the frame back onto your piece of white cardstock and carefully remove the Press n Seal.   The foam pads will hold the die cut pieces in place and they will look like they are just floating on your cardstock .......


I only coloured my butterflies after I'd placed them onto my card but, if you find it easier to colour them before all the die cutting that would work too.

I stamped a sentiment in the centre of the frame .....


and added some dots of glitter glue in between the butterflies.


I love how this turned out ......


I did mention a twofer ....... well check this out


Take the left over die cut piece (the center bit) which will still have all your die cuts in place on the Press n Seal.   Simply add foam pads to the backs of all the pieces as before, and then attach it to the front of a cardblank.  Gently peel off the Press n Seal ...... and voila!


Floating butterflies in a perfect square!

Add some colour (if you've not already done so) and a simple sentiment ......


And finish with a few splatters of matching ink


I hope that all makes sense.
If you're like me, you'll give this a go, and then start looking through your stamps to see which have matching dies that you can use for this fab technique.

Have fun!

Thanks for popping by ...... have a great day.

Cheerio until next time ....
 

Sunday, 28 April 2019

Welcome to another Stencil Sunday ........

Hello there .....

I hope you're enjoying your weekend ..... can you believe we're almost in May!!!  Doesn't time fly when you're having fun! 

It's Linda here again with another quick and easy idea for using your Uniko Stencils ....... why not create your own pretty backing papers.
Here's a really simple idea using just a small part of the background piece I created.


I took a large piece of smooth watercolour card and blended Distress Oxide inks over the top. 
I started at the bottom with the lightest colour (Scattered Straw), and then worked my way up the card getting slightly darker each time to create a sort of ombre look.


I used Wild Honey, Spiced Marmalade and Picked Raspberry  ....... just think of all the fab combinations you could try!
Because the Oxide inks blend so well, you get all these fab shades in between too.

I then took my stencil ..... the pretty Stylised Floral, and used Abandoned Coral Distress Oxide to add the design over the top.  The result was a pretty piece of cardstock that I can cut up and use for lots of different projects ..... backgrounds, even die cutting.  You'll no doubt see some of it again!

For this card I cut a piece to fit on the bottom third of a 7x5 cardblank, and then I used a fancy, stitched edge die to trim down a piece of white card to fit over the top


I stamped my sentiment, from the Birthday Wishes Clear stamp set using one of the Oxide colours I'd used on the stenciled card ...... so that everything matched. 
If you haven't tried stamping with your Distress Oxides, give it a go.  They are so different from the original Distress ..... you get a much crisper image.

The pretty matching floral embellishment was made using the Stylised Floral stencil again.


I simply inked through the design onto a scrap of white card, fussy cut around the flower shape and attached it to the front of my card using foam pads.  I added another layer on top for the centre.

Thanks for popping by .......enjoy what's left of the weekend, and Happy crafting!

Cheerio until next time ......