Friday, 31 May 2019

Uniko Challenge Reminder #53 - Anything Goes + Optional Twist Masculine

Hey!
The Design Team and our Guest Designer are here today to remind you about the May/June 2019 Uniko challenge.

We have an Anything Goes theme at the moment, but with Father's Day here in the UK coming up in June we've also added in the optional twist of Masculine just in case.


Challenge Guidelines:

* You can use any products/stamps to enter the challenge, but we do LOVE to see you use your Uniko products. Plus, there is an extra chance to win a prize if you do ;)

* Email entries welcome, just email a photo of your card to bev@uniko.co.uk and I will add it to the Uniko Flickr gallery and link up!

* Share the challenge graphic in your post and link back to the challenge if possible ;)


We have Radhika joining us again as our Guest Designer. She has created another fabulous masculine card to inspire you.


Loving all the moustaches ad the jaunty angle of the spectacles!

And of course the Uniko DT have also joined in the fun to help get your ideas flowing.

Bev


Now, if you need more incentive to play along with the challenge here are the details of the prizes.  

THE PRIZES
  • Main Winner Chosen By the DT - £25 eGift Certificate
  • Random Twist Winner - £5 In Stock Clear Stamp Set of Winners Choosing
  • Random Uniko Stamps Winner - £5 In Stock Clear Stamp Set of Winners Choosing
  • Top 3 Chosen By DT - 150 Loyalty Reward Points

You've got plenty of time to play along with this month's challenge. The deadline for submission is midnight (GMT) on Friday 21st June 2019 (7.00pm EDT).

Thursday, 30 May 2019

Featured In.... Simply Cards & Papercraft Magazine!

Woohoo!

I'm super excited to pop by this evening & tell you about another little feature I have in a magazine. This time it is with Simply Cards & Papercraft magazine and I have designed some FREE downloadable digital stamps for you to use :)


Can you spot a trio of the cards on the lower right of the front cover?! 

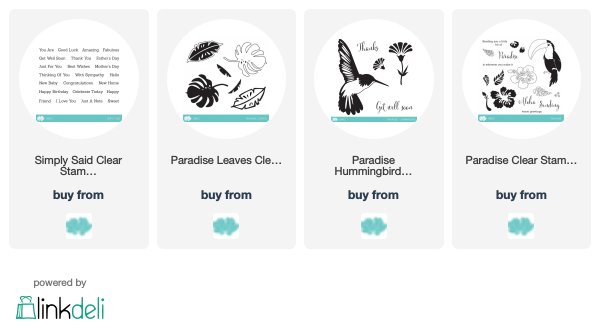
One trends that is still going strong in the papercraft industry (and others) is the Tropical theme. Currently the focus of the trend is more on the leaves & foliage rather than the tropical blooms. So, I used this, along with my previously released Tropical themed clear stamp sets, Paradise, Paradise Humming Bird & Paradise Leaves to create some digital stamps.

Here is a look at the collection of stamps available for download from Simply Cards & Papercrafts Magazine website HERE.


And here are a couple of the cards I have made using the digital stamps which are featured in the magazine...


On this first card I have used just the FREE digital stamps. I enlarged the background stamp to fill a panel of white card & used my Copic Markers to colour the leaves in. The sentiment is then sized to layer across the background on a separately printed panel & I added some foam adhesive for dimension.


For this second card I used the large tropical leaf background again, but this time I erased the top section of the background. I've then added Bob the Toucan from Paradise clear stamps & a Father's Day sentiment from Simply Said clear stamps.

For all the details & more samples using the FREE digital stamps, be sure to grab yourself a copy of the magazine from the Simply Cards & Papercrafts website or in the UK most leading supermarkets, Hobbycraft & WH Smith stock the magazine.

Please note that these digital stamps are only available to download HERE from Simply Cards & Papercrafts website. They are not available for download from Uniko. 


Enjoy & thanks for stopping by!
Hugs


Wednesday, 29 May 2019

Easy Twofer using the Floating Die Cuts technique

Good morning .......

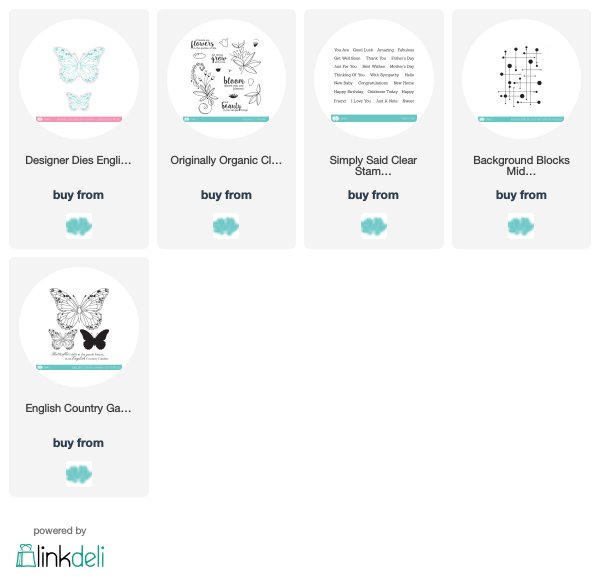
It's Linda here, with a fun little project using the English Country Garden Butterflies clear stamp set, and the matching Designer Dies that were released earlier this month.

I'm sure you've seen, what some people are calling ........ Floating Die Cut Frames.  A really fun technique of using stamps with matching dies to create cards where the die cuts look like they are just floating.
It's also a great way to create two fabulous cards in one, which is always a winner for me.


I first saw Jennifer McGuire using this technique on YouTube, and thought it would be perfect to use with these stamps and dies

To start, stamp a whole bunch of the butterflies, using both sizes, onto plain white cardstock  (if you don't like colouring, you could always stamp these directly onto coloured cardstock instead)
Using the matching dies, cut out each one.

Cut a piece of white cardstock to fit the front of your cardblank (mine was  a 14cm square card)  On to this arrange the die cut butterflies, filling the whole piece of card, leaving a little bit of space in between each of the butterflies, and making sure that some of them go over the edges.

Now for the magic ingredient ...... GLAD Press n Seal


I discovered this through Jennifer McGuire and I managed to find it on Amazon.  It's kind of like cling film, but one side is sticky, a bit like low tack tape.

Place this over the top of the butterflies, trying not to move them around, and press down.
Trim off any excess around the edges of the card.

Next, use a die to cut out the centre, I used a square but you could use a circle, a rectangle, an oval, even a heart.  Place this on top of the Press n Seal and secure with low tack tape.
Before running it through your die cutting machine, remove the piece of cardstock from the back.  Don't worry, your die cuts will stay in place.

Once you've die cut the centre, take the middle bit out, and then place foam pads on the back of each of the pieces left, forming the frame (this is where I realise I should really have taken step by step photos, but hopefully you're following me)

Place the frame back onto your piece of white cardstock and carefully remove the Press n Seal.   The foam pads will hold the die cut pieces in place and they will look like they are just floating on your cardstock .......


I only coloured my butterflies after I'd placed them onto my card but, if you find it easier to colour them before all the die cutting that would work too.

I stamped a sentiment in the centre of the frame .....


and added some dots of glitter glue in between the butterflies.


I love how this turned out ......


I did mention a twofer ....... well check this out


Take the left over die cut piece (the center bit) which will still have all your die cuts in place on the Press n Seal.   Simply add foam pads to the backs of all the pieces as before, and then attach it to the front of a cardblank.  Gently peel off the Press n Seal ...... and voila!


Floating butterflies in a perfect square!

Add some colour (if you've not already done so) and a simple sentiment ......


And finish with a few splatters of matching ink


I hope that all makes sense.
If you're like me, you'll give this a go, and then start looking through your stamps to see which have matching dies that you can use for this fab technique.

Have fun!

Thanks for popping by ...... have a great day.

Cheerio until next time ....
 

Tuesday, 28 May 2019

DT Inspiration...Anti-Colouring Cards

Hello,

Carol here. Welcome to my Uniko Studio DT showcase, where I bring out a few of my Uniko Studio products to give them some extra love.  

Many of you, I'm sure, have seen the new 'trend' of pairing coloured backgrounds with focal images left black-and-white.  I decided to create a pair of *Anti-Colouring cards*, as coined and inspired by Carissa from Sprinkled with Glitter.  These were a joy to make, especially since the delicate lines and details of the English Country Garden butterfly and Originally Organic stylized florals stand beautifully just as they are. 

I paired these pretties with a rainbow version of Background Blocks: Mid-Century Modern 1.


I hope you've enjoyed my *anti-colouring cards* and will give this technique a try!

~carol

Monday, 27 May 2019

Happy 5th Birthday AAA Cards!

Hey & Happy Monday!

Okay, so I am a day late for the start of AAA Cards 5th Birthday party happening over HERE, but I thought I would pop by and tell you all about it! 


I'm super honoured & happy that Uniko is one of the 13 sponsors of the challenge for this awesome occasion :) 

Here's the details on how you can win:

1. Enter a CAS card into our birthday themed challenge using the link up at the bottom of THIS post - 8 prizes!

2. Enter the Treasure Hunt. Visit each of the AAA Cards DT blogs and find the picture five of them have hidden. When you've found all five pictures work out the word that connects them all and email this word to Jane, aaacardchallenge@gmail.com. A draw of all the correct answers will be made. (HINT - the word begins with the same letter as our blog name.) - 1 prize

3. Facebook - (you'll need to join our group if you're not already a member) like and leave a comment on our birthday post to be entered into a random draw - 1 prize.

4. Like, comment & follow us on instagram to be entered into a random draw - 1 prize.

5. Leave a comment on the challenge blog and each of the seven DT blogs. A random draw will be made from each blog - 9 prizes.

That's 20 ways to win!


This evening on the website blog HERE I have shared a trio of cards, FUN with Background Blocks inspiration. One of the cards is perfectly birthday themed ;)


I do hope you'll hop on over for all the details :) I also look forward to seeing you in the AAA Cards gallery! 

Happy Stamping! 


Saturday, 25 May 2019

DT Inspiration - Rainbow Birthdays

Hello there, it's Sarah P here with my May DT Inspiration post and in honour of Bev's BIG birthday month I've gone all out with some rainbow birthday creations.

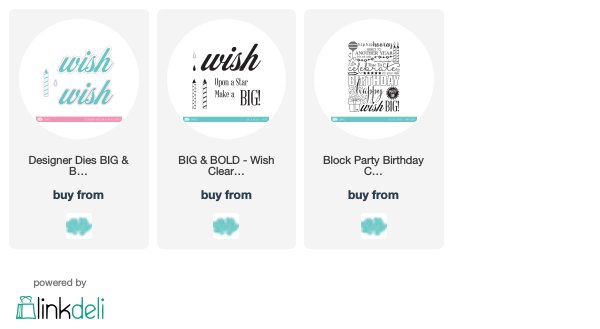
Having been inspired by the cards Kristina Werner created HERE with their gorgeous inky colours and fun birthday ideas, I wanted to incorporate the previously released Block Party Birthday stamp from Uniko as well as the newly released 'BIG & BOLD Wish' die.

So here goes ... the first 3 using the Block Party stamp in various ways


The rainbow background for this one was created using Zig Clear Brush pens, blending the painted stripes with water. Once dried the Block stamp was stamped with Versamark ink and simply heat embossed in white.


A very similar card but this time the rainbow is on a diagonal and created by blending Distress Oxides before heat embossing the image in white.


Who knew that Distress Oxides could stamp so well...a little trickier than the first 2 cards but fun to create. Once all the coloured stamping was dry I stamped the whole image with Versamark ink before heat embossing in clear embossing powder. 


... and last but not least featuring a Cover plate die from Avery Elle with the 'BIG & BOLD Wish' dies and stamp set. Keeping with the rainbow theme I've smeared Distress Oxides around the oval  then kept the sentiment very simple inside. The 'You Are Amazing' sentiment is from the Just Because set.

I hope you've enjoyed my rainbow birthday cards and thank you for stopping by the blog today.


Friday, 24 May 2019

Featured In... Die Cutting Essentials

Hey!

Happy Friday & HAPPY long Bank Holiday weekend to all in the UK, you've got to love an extra day to the weekend! 

Today I am back to share a little more about the Uniko feature in Die Cutting Essentials, which I shared on social media yesterday. 

I am always truly honoured to be approached by editors to work to a brief and have my cards featured :)


For this feature Kirstie the editor of DCE chose Originally Organic & Originally Organic Additions clear stamps & designer dies to be featured. I had a gorgeous colour scheme perfect for them and here is a couple of the cards I made for the feature...


This is probably my favourite stamp from Originally Organic, I just love the swirly features. On this card I have stamped & embossed the image in white onto a grey card base & coloured using Prismacolor Pencils. I've then used a negative die cut panel to add interest and dimension. Such a fun technique to do with coordinating dies. 


I stepped right out of my comfort zone for this next card and created a shaped card! I hardly ever choose to make a shaped card, but the curved floral stem was screaming to be layered around a curved edge. 

More details about these cards and more can be found in the magazine AND there is a bonus card over on the Die Cutting Essential blog HERE.

AND if that's not enough, both of the Originally Organic & Originally Organic Additions are available as stamp & die bundles HERE and HERE on the website. Saving you 15% if you bought the stamps and dies separately.

That's all from me today, but the DT will be back tomorrow with more inspiration to share with you :)

Hugs


Wednesday, 22 May 2019

DT Inspiration: Mid Century Modern Backgrounds

It's Lindsey here with some DT inspiration for you.

I LOVE the newly released Mid Century Modern Floral stamp set!


As well as being perfect for creating a huge bouquet of retro styled flowers, the stamps are just as lovely when used randomly to create fun backgrounds.

  
Once you've found a layout you like, why not continue and make a couple of cards, just changing your ink colours to ring the changes?

If you haven't already, I urge you to take a look at the brand spanking-new "Mid Century Modern Florals" stamp set.
It's absolutely smashing!

This set is available on backorder, restocks are due in on 4th June & backorders will ship 5th June.


Thank you for your visit today.