Showing posts with label Tone on Tone. Show all posts

Tuesday, 9 June 2026

Two For Tuesday - Uniko Style

 It's been a while since I've done a Two For Tuesday and while I was packing stamps yesterday I was inspired to ink up Uniko Style which has recently come back into stock.

For my first card I was inspired by a graphic I came across on Pinterest HERE. This patten was inspiration for this stamp set too. 


What I loved was the two colour split, but also the tone on tone stamping. This took a little bit of masking and I should have changed the mask sooner as the ink seeped through a little, but I am still please how it turned out.


For my colours I used Pink Lemonade for my DL slimline card base and Poppy card for the lower section. For the stamping I used Cranberry ink as I wanted the flowers to stand out. My sentiment choice is from Everyday Spring Sentiments.


Next I decided to go rainbow to create this one layer card.


I used Honeysuckle and Berry Kiss, Clementine & Spiced Cider, Buttercup and Honeycomb, Sprout and Parsley, Surfside and Lakefront, then finally Harbor and Blueberry. 


For my sentiment I chose a current favourite from Organic Blooms and finished my card with a variety of enamel dots from my stash to match the colours as close as I could.


That's all from me today, I hope these cards have inspired you to dust off your Uniko Style stamps or try the cards with some solid/layering stamps.

Crafty Hugs


Thursday, 26 May 2022

Brand Ambassador Inspiration - WILD

Good morning

Anita here with some inspiration for you.  More often than not when crafting I reach for florals so I decided to go off on a tangent this time and picked out the WILD clear stamp set and a couple of co-ordinating stencils.


For my first two cards I combined the stamp set with the Tiger Print Stencil.  Here's the first one...


Rather than go with the traditional tiger stripe colours I thought I'd try tone on tone with black, and I love how this turned out.  I laid the stencil over some black cardstock and pressed through it with my VersaMark ink pad, going over it a few times to ensure all the areas were covered.  I then heat embossed the stripes in black, but this would work equally well with clear embossing powder too.  I die cut the panel with a stitched rectangle and then went over the surface with an anti-static powder tool before stamping the sentiment and paw print also in VersaMark, which were then heat embossed in gold and copper.  I then popped the panel up on 3D foam onto my card base.


And for my second card, a one layer card with a completely different feel using the same Tiger Print Stencil...


This time I used a heart die to make an aperture out of a scrap piece of card and used this as a stencil.  I ink blended onto my card base, first with Kitsch Flamingo Distress Ink, before placing the Tiger Print stencil over the top and inking over it with a Festive Berries Distress Ink.  I then simply finished by stamping the sentiment in black and adding some gems.


And for my final card I combined the stamp set with the Giraffe Print stencil...


I began with a die cut panel of light coloured kraft cardstock and stamped the word WILD in the centre.  I then masked the inside of the letters, by cutting out the sentiment which I had stamped onto post-it notes.  Next I masked off around the edges of the panel to leave a slim border and then ink blended through the Giraffe Print stencil using Distress Inks in Tea Dye and a touch of Rusty Hinge.  When all the masks were removed I then stamped the remainder of the sentiment in black.  To help the sentiment to stand out a little I added some Wink of Stella for some sparkle.


I had great fun making these and I hope you like them.  There is a third stencil in the series, the Zebra Print stencil, which I'm yet to get my hands on.  It's currently out of stock but please do check back at a later date if you want that one, I'm sure Bev is working to get this one back asap.

Thanks so much for joining me today, I hope to be back with more to share very soon.

Take care


Monday, 25 November 2019

Brand Ambassador Inspiration - Tone on Tone Christmas

Happy Monday .......

I hope you've had a lovely weekend ...... only four more to go before Christmas! I can't believe it's December next weekend!

It's Linda here this morning, with a couple of ideas for some pretty tone on tone Christmas cards.
If you're like me, and still have cards to make ...... how about these


I don't use coloured cardstock for stamping on very often, but when I do I always love the results, especially tone on tone designs.

I've used the new Season of Beauty Clear stamp set from the last Uniko release, for both of these designs.

First up ...... festive red and gold, always a winner for Christmas designs


I used Hero Arts Cranberry cardstock and stamped with Crimson Red Versafine ink.


This stamp set includes layering stamps to create a beautiful poinsettia.  For this design I just used the full image stamp (the first layer) and the outline stamp.
I stamped the flower all over a piece of cardstock using the red ink, and then I used the outline image and stamped this in a gold ink, over the top.


The layering stamps are really easy to line up, but as you can see I wasn't too bothered if I got the outline slightly off


I sprinkled a little bit of Chunky White Embossing Powder over the top and heated this from underneath, to give a little snowy effect.

A few dots of gold glitter glue to the centres of the flowers  .......


And I finished with the sentiment stamped on a piece of white cardstock, die cut, and then attached to the front using foam pads.


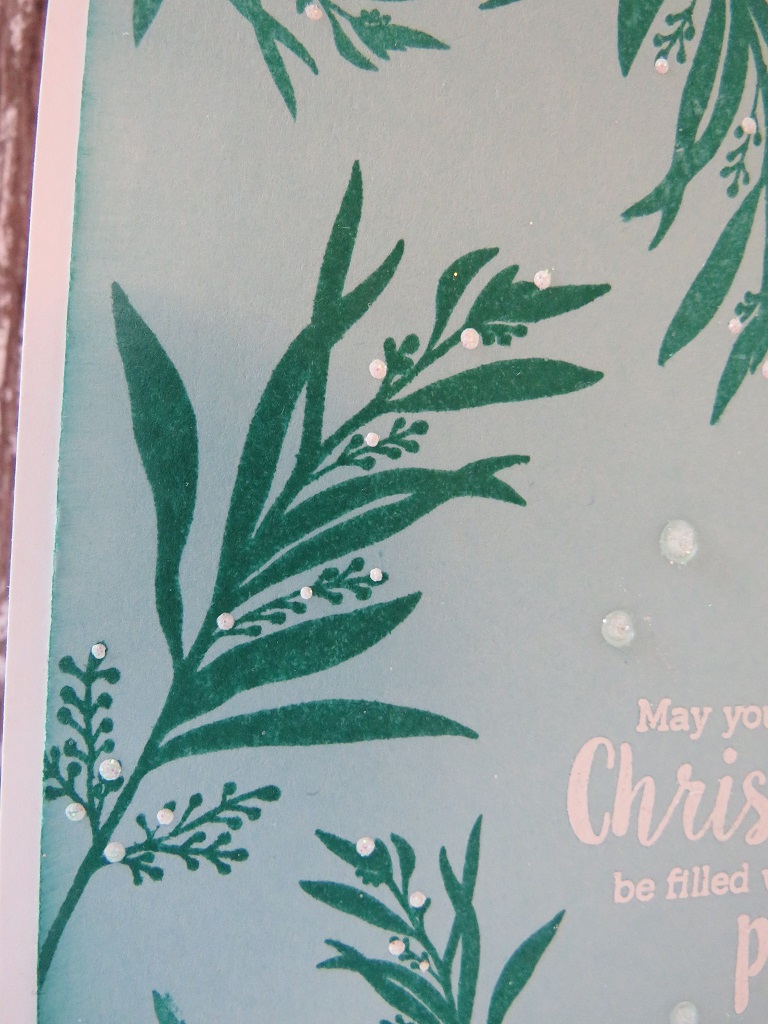
For the second design I went for a pretty turquoise shade ....... Hero Arts Mist cardstock, and stamped with the Catherine Pooler Aquatini ink


I started with the sentiment this time ...... heat embossed in white


I then stamped the pretty foliage branch all over the card using both the large and the small versions


A few dots of white enamel accents here and there, and some sparkly gems.


And I finished off with some white ink sponged around the edges of the card, and a little touch of the Aquatini, before matting it onto a white cardblank.

Thanks for popping by ..... enjoy the rest of your day and have a great week.
I think mine's going to be spent making Christmas cards!

Cheerio until next time ......