Showing posts with label Masking. Show all posts

Monday, 17 February 2025

Brand Ambassador Inspiration - Stamp & Stencil Combo


Good morning.  Anita here with some Brand Ambassador inspiration for you.  How are you enjoying the birthday month celebrations so far?  We're just past the halfway point and there is so much more to come so don't forget to keep checking back here for more.

For this card I decided to use a technique I love to use when stamping with detailed images.  I've used the gorgeous Pure Florals: Peony stamp set for the image and sentiment, and used the Quilted stencil...


This technique is great if you are short of time or if you're less experienced with colouring...just colour the background instead and it's surprising how this makes the image pop.  So I began by stamping the peony in black ink and I also stamped a mask at the same time which I cut out and then placed over the image.  I then gently ink blended the background starting from the top right corner using two shades of blue ink and fading it out.  I then placed the stencil over the top and used the darkest shade of blue to ink through.


I then removed the mask, stamped the sentiment and added a few flat iridescent sprinkles for some sparkle. 


This card came together pretty fast, the most time consuming part is cutting out the mask but you also then have it for a couple more projects.

Thanks for taking a look and I hope this month of Uniko celebrations is giving you lots of crafty inspiration.  There is so much more to come too!

That's all from me today, I hope you enjoy your week.

 

Thursday, 29 September 2022

Throwback Thursday - Doodle Flower

Hello & Happy Thursday!

Today I thought I would do a little Throwback Thursday.  I chose the Doodle Flowers clear stamp set as my muse and this card...


Do you remember this card? 

On it I used the heat embossing, masking and blending technique and too those to create this new version. 

What do you think?


This time I went for a different layout and different colours. I used scotch masking tape, stamped and embossed the Doodle Flowers and then I used Catherine Pooler Serene, Sparkling Berry and Merlot. 


I finished off the card with these foam mounted sentiments from Everyday Sentiments. A simple design, but I think it has impact. 

It was certainly fun to revisit and give a new spin on a card I have made before.

Crafty Hugs


Monday, 26 September 2022

Brand Ambassador Inspiration - Three Ways with Pure Florals: Lily

Good morning

Anita here with some floral inspiration for your Monday morning.  I recently bought an autumnal bouquet of flowers and within it were some stunning orange lilies.  So that's where the inspiration came from for these cards, using the gorgeous Pure Florals: Lily Clear Stamp Set.

I have used the same image on all three cards but used a different technique on each.  On all three cards I've used sentiments from the Simply Said Blocks II Clear Stamp Set.


First up, I left the image uncoloured and added colour and interest around it...


I stamped the flower directly onto the card base and then stamped and fussy cut a mask to cover it.  I then ink blended the background using three shades of Distress Oxide ink, before then inking through the Party Confetti Stencil using the same inks to add some interest.  Finished with a sentiment stamped in black.


For the second card I used the negative mask which was left over from the same masking sheet...


On a white cardstock panel I stamped the lily and then used the mask to cover up the background.  The lily was then coloured using Distress Oxide inks once again and a little Copic colouring for the stem and stamens.  I die cut the panel using a scalloped rectangle and then stamped the sentiment before adhering the panel flat to the card base.


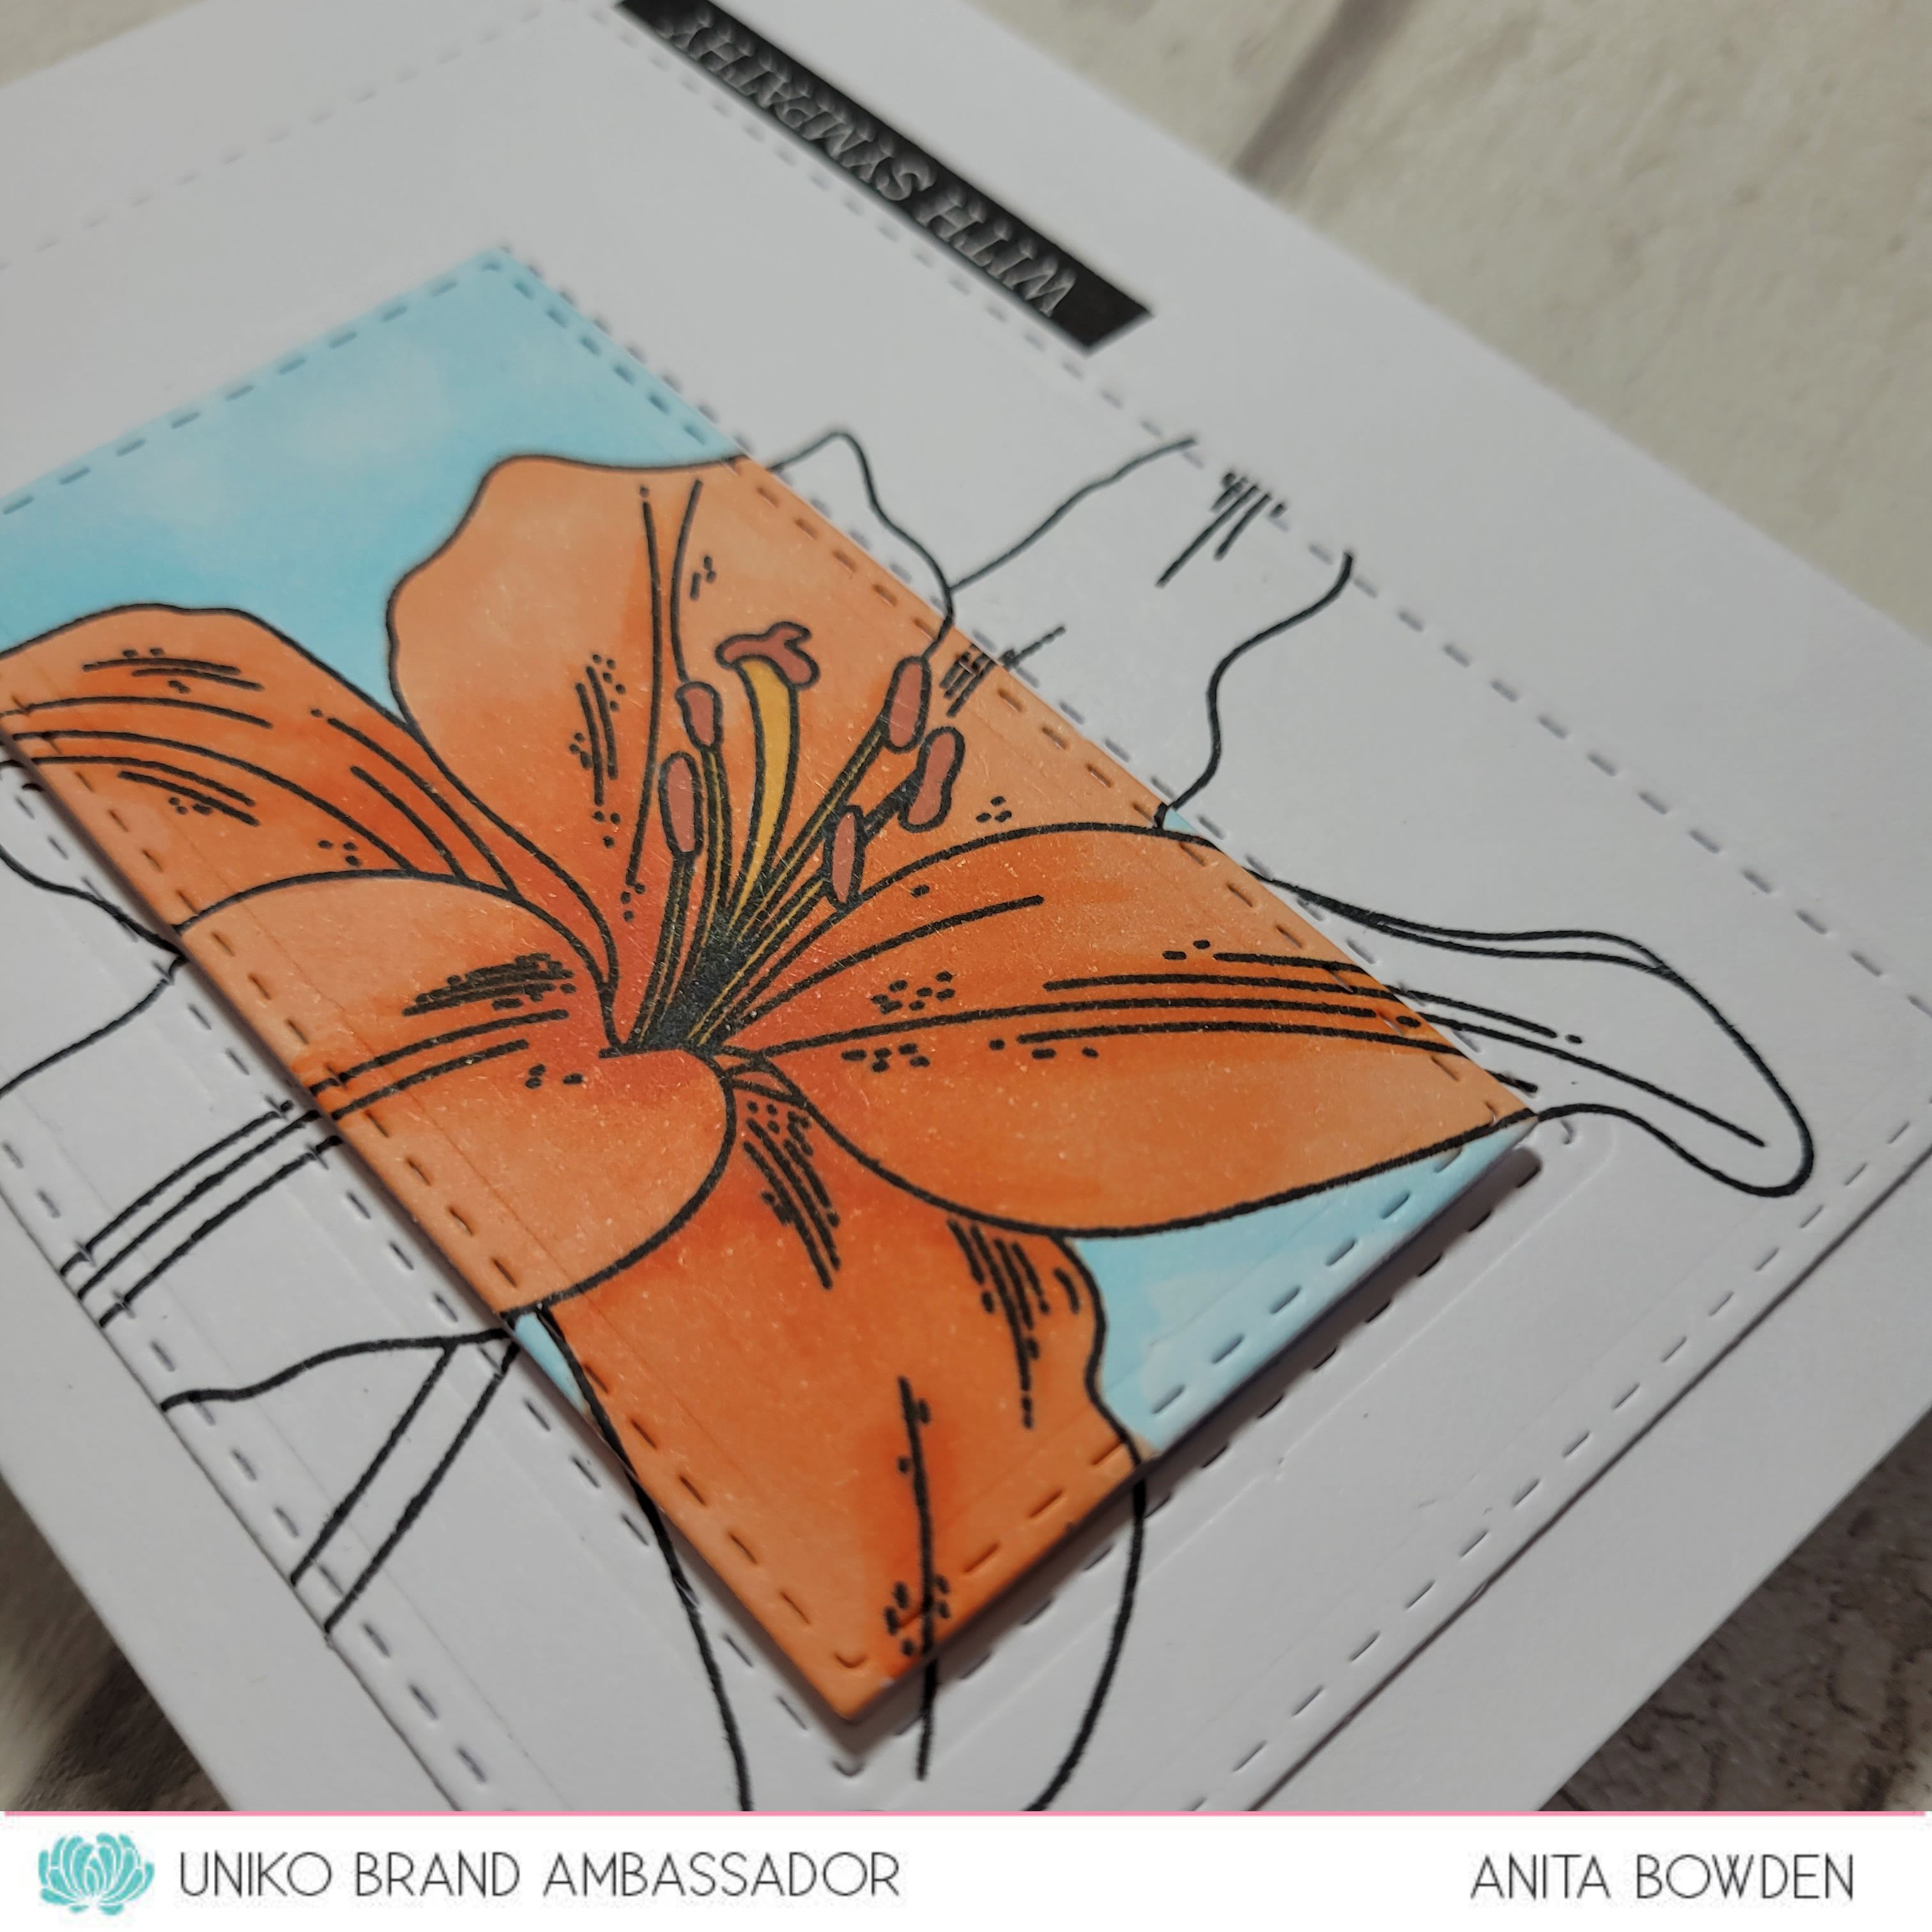
Finally, a little spotlight colouring...


I stamped the image onto some white cardstock and die cut with a stitched rectangle die.  I then die cut a smaller rectangle from within it and coloured this part with Copic markers.  The sentiment was stamped to look like a tab before adhering the uncoloured panel flat to the card base.  Then the coloured section was popped up on 3D foam.


There are so many techniques to use with stamped images and I love looking for new ways to 'stretch' what I have in my stash.  I hope that has given you some ideas.  My colouring skills aren't the best so ink blending or even leaving images uncoloured can still look effective.

Wishing you all well for the week ahead and sending crafty hugs


Monday, 13 June 2022

Fresh Monday Feels!

 Happy Monday!

Firstly I want to thank the Uniko Brand Ambassadors for all their amazing inspiration last week. I think you will agree with me in that they provided an amazing array of creative inspiration for us all to enjoy. And secondly a BIG thank you to all of YOU. For your support of Uniko throughout the week and across social media. AND for all your lovely orders 😊

I thought I would start the week off with some more fresh and zesty inspiration using Organically Zesty. I made these two cards last week, inspired by Anita from a while back HERE. I knew I had to give this colouring technique a try.


I started by creating a mask of the orange bloom. I am using Eclipse paper available from Stamp Addicts. I cut a piece as big as my card base, 10.5 x 14cm and I made sure to cut the mask out in one piece so that I could use both the positive and the negative for two cards. 


For this first card I stamped the orange onto my mat card layer. I then used the negative mask and applied it around the stamped image before blending inks over the top. I used Altenew Tropical and Warm & Cozy. I trimmed and adhered the panel to my card base for a subtle effect. The sentiment is from our popular Simply Said Blocks and I added some clear gloss Nuvo Drops to finish.


For my second card I used the positive mask. Again I stamped the orange and used the mask to cover the image before using the same colours to colour the background around the image. 


This time I used a sentiment from Organically Zesty and stamped it inside the orange. I trimmed the panel slightly and adhered it to my white card base. 


This is such a fun technique and I can't definitely see me using it for more images! That's all from me today, I will be back again with more inspiration using the new release. 

Until then, Crafty Hugs 


Thursday, 17 March 2022

Brand Ambassador Inspiration - Spring Botanicals Tulip

Good morning

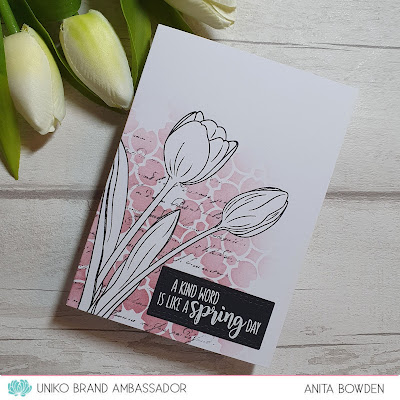
Anita here with my very first Brand Ambassador Inspiration post!  There are so many wonderful products in the Uniko range I was spoilt for choice but, with the official start of Spring this coming Sunday and this being my favourite flower, for my first post I had to share some inspiration using Spring Botanicals Tulip.  So I have a trio of makes for you today, all quite different.


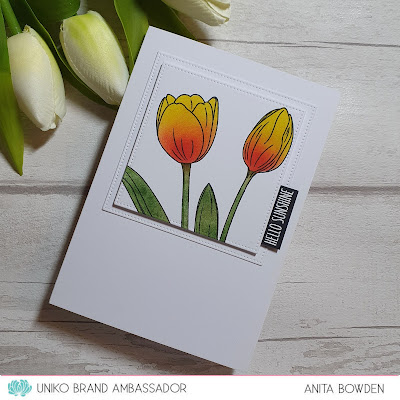
Wonderful colouring with markers isn't one of my talents so for this first card I've used ink blending...


On some white cardstock I stamped the tulips image and then stamped it again onto some masking paper.  Instead of masking the image, I cut out the negative space and masked the background.  I then ink blended with Distress Inks.  I cut out the image using a pierced square die and another slightly larger from plain white cardstock.  I heat embossed the sentiment, also from the Spring Botanicals Tulip set, using white embossing powder on black cardstock and adhered it like a tab.  The die cut panels were then layered up with dimension.


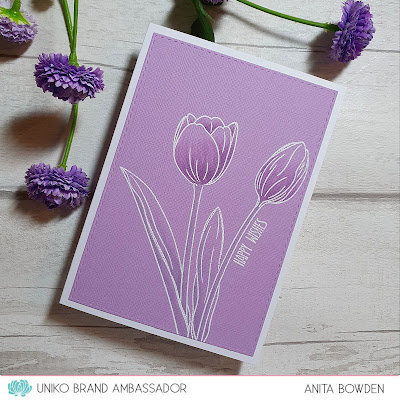
For this next card I used very simple tone on tone colouring...


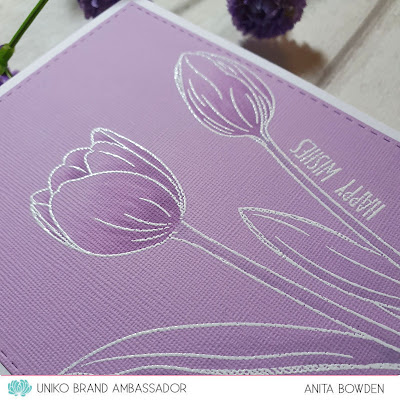
My first step here was to stamp the image in a pale lilac ink onto some lilac textured cardstock.  I left the stamp in my stamping platform as I would need to re-stamp later.  I added some tone on tone colouring with alcohol markers, lilac shades for the petals and I chose grey for the leaves just to add a little shading.  Once complete I placed the panel back into my stamping platform, stamped in VersaMark ink and heat embossed in white, along with the sentiment, also from the same stamp set.  It's so much easier to emboss afterwards so you don't have to avoid the embossing and I've heard that embossing isn't too good for marker nibs either.  To finish this one the panel was die cut with a stitched rectangle and adhered flat to the card base.


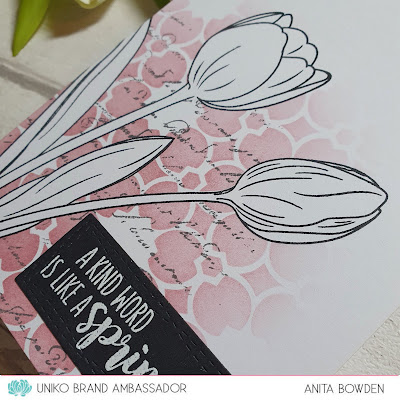
And for my third of this trio I left the image uncoloured and just added colour to the background...


I stamped the image and masked it using the mask I'd previously cut from the first card.  I then laid the Stylised Floral Stencil over the top and blended through with Distress Ink, fading it out.  For a little more background interest, with the mask still in place I lightly stamped in grey with the Large Background French Script Stamp, just keeping the stamping within the area of the ink blending.  To finish, I used a sentiment from the Spring Botanicals Tulip set, heat embossed in white on a black die cut panel.


I hope you find some inspiration from these.  I'd love to be more creative with my alcohol markers but much more practice is required so, while I'm still learning, I'm always looking for different ways to add colour.  I had great fun making these.

I'm so glad Spring is (almost) here, it's my favourite season.  The daffodils are in full bloom in the UK and the tulips won't be far behind.

Crafty hugs to you all

Thursday, 16 April 2020

Brand Ambassador Inspiration : Wild card(s)

Hi there!

Hannelie here today playing three wild cards!

I hope it will inspire you to make those more graphic masculine cards. They all follow the same recipe more or less :)

First card :


For this card I used the  Giraffe print stencil . I masked an area off with a rectangle die cut and applied a light layer of Antique Linen distress ink. I then placed the stencil over the masked area and applied the second layer of color - Vintage Photo distress ink.
After removing the mask and stencil, I stamped the sentiment, which was build up with three different stamp sets : Wild clear stamp set , Festive sentiments outlined clear stamp set and Simply said blocks.


Second card :


For this card I masked an area with a torn piece of scrap paper, and stamped the Large background tropical paradise stamp with Versafine black ink. After that I stamped the sentiment ''wild' and 'thing' from the Wild clear stamp set, colored the outline part with my moss green Promarker, and finally added the 'hello' from Simply said blocks, by popping it up with small foam dots.


Third card :


For the last card I used the Giraffe print stencil again, but in rainbow colors of distress ink. Before I started blending the ink through the stencil, I masked an area with a piece of torn scrap paper.
The 'you' were stamped with the Alphabet outlined stamp set and Versafine black ink, and completed the card with another word of the Simply said blocks, popped up with craft foam dots. I used a Rectangle pinpoint die from Memory Box to cut the panel a bit smaller before adhering it to the card base on a piece of craft foam for dimension.Three black rhinestones to complete the card.

Thanks for popping in today to take a look at the cards I made !

Wishing you a fabulously creative day.

Remember to stay 🏡 and stay safe !

Hannelie

Friday, 27 March 2020

Brand Ambassador Inspiration - Originally Organic Stamps and Dies

Hello there .....

Happy Friday .... I do hope you're all safe and well. 
It's Linda here with a little bit of Uniko Inspiration for you, using the pretty Originally Organic Clear Stamps and matching dies.


What a crazy world we're living in at the moment ....... everything is changing so fast.  We've been self isolating/social distancing as best we can, and our little island is now in lockdown.
Hubby's working from home and I'm trying to keep myself busy in the craft room ....... although some days are more productive than others!!

For me, CAS is definitley the way to go when the old mojo is keeping it's distance. And this pretty stamp set is made up of lots of different elements, including some fab sentiments, making it easy to create a variety of pretty cards.


Keeping things really simple, using just three of the stamps from the set and a sentiment, along with a bit of masking.

I simply used a piece of low tack stencil tape across my card where I wanted the sentiment to be, and then stamped the stem and leaves along both edges


I added in the flower heads and coloured the images using ZIG Markers, before removing the masking tape
A touch of glitter onto the tiny stamens adds a bit of sparkle .....


I stamped the sentiment in the centre , and then masked off top and bottom of the banner before adding just a touch of Distress Ink along the egdes to add a bit of definition


For my second card I added in the matching Designer Dies ......


CAS again .... this time I stamped directly onto my card using the pretty flourish from the set, and coloured with ZIG markers and a water brush


I added the sentiment and also a few ink splatters onto the background


I then stamped the stem and flower heads onto a seperate piece of white card, watercoloured each piece using ZIG markers, and then used the matching dies to cut them out .......


and attached them with foam pads to add dimension,

That's it from me this month.  Keep safe and well ..... this time at home is what we crafters have been training for!

Thanks for popping by .....

Sending big hugs .....

Sunday, 3 March 2019

DT inspiration - Thank you card

Bonjour !

Izzy here.

Today I make echo to Sarah P's last DT post by sharing with you a thank you card that shows the versatility of the Uniko stamps.

To make this card I used three stamp sets : English Country Garden : Butterflies (released in June 2014), Pure Florals : Peony (released in December 2018) and All Occasion Sentiments #3 (Released in August 2013).

Uniko products are so easy to mix and match that I always find new inspiration to make new cards. Whatever is the sketch I choose, I always find a Uniko product (or products) to create my project.

Today I chose the sketch from CAS Colours and Sketches challenges to make this card...


When I saw the sketch and the inspiration cards, I immediately imagined this card, butterflies on the top, flowers on the bottom, everything separated with a sentiment banner. 


Once the stamp sets choosen and layed out, it was a game of stamping, masking, stencilling, blending inks and colouring. 


The English Country Garden : Butterflies and the Pure Florals : Peony are coloured with Faber-Castell Polychromos colour pencils and the background is made with Distress inks.

I've had never used the All Occasion Sentiments #3 before but I LOVE how it looks, the calligraphy is so beautiful, don't you think so ?

I hope you like my card and that you will be inspired to play with your different Uniko products, I'm sure that you will come up with a stunning project !

Thank you so much for stopping by and have a fabulous day !

Izzy xx