Showing posts with label Graffiti Texture. Show all posts

Saturday, 15 January 2022

Brand ambassador inspiration post : Hearts all over !

 Hi there!

Hannelie here today sharing a handful of cards with ideas for using hearts as the focal point on your cards ! I also hope you will find inspiration to look at your stamp sets with new eyes ! I used a few Christmas sets as well in some of the cards below. Showing the versatility of Uniko's products :)

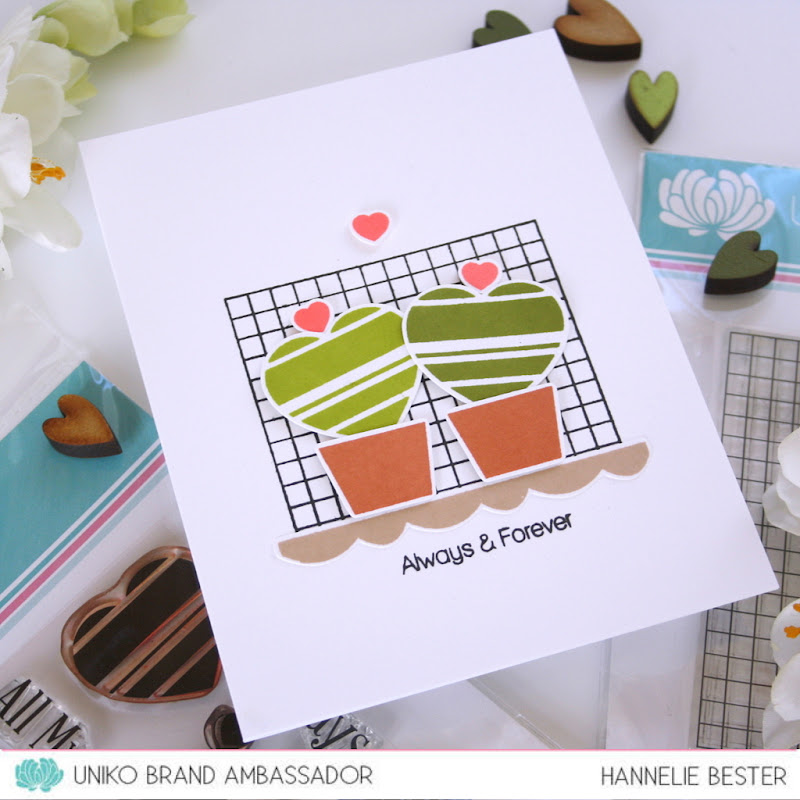
 For the first two cards I turned the hearts into cacti !
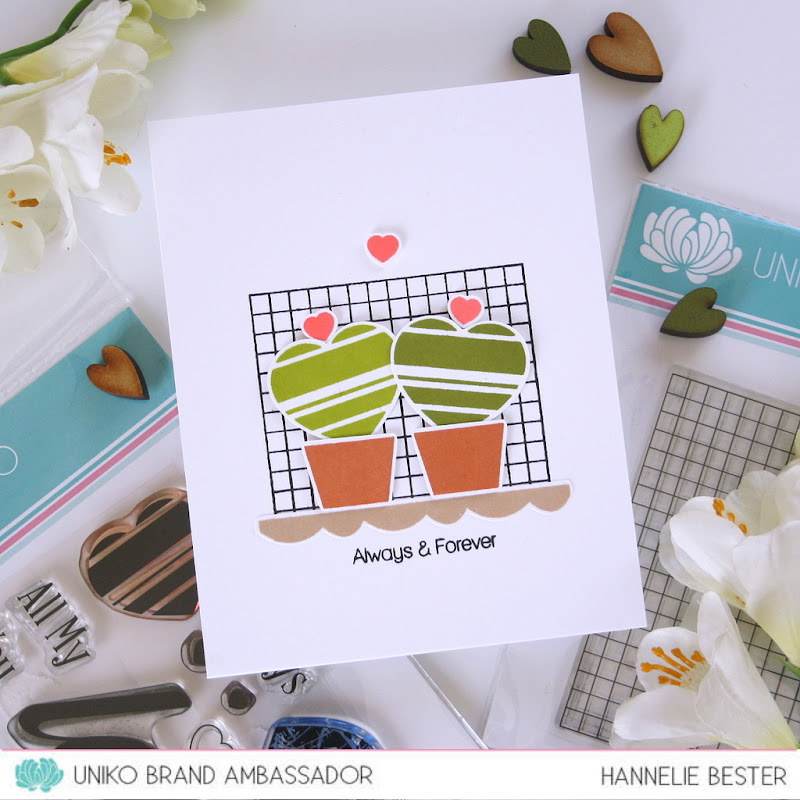


For the first card I used :


... with googly eyes... 


For the second card I used :


Pulling the heart strings...


For the third card I used :


Some encouragement...


For the fourth card I used :


... and a very traditional Valentine's card !


For the fifth card I used :


I hope these cards will inspire you! 

Thank you so much for popping in today ♥

Hannelie


Sunday, 10 October 2021

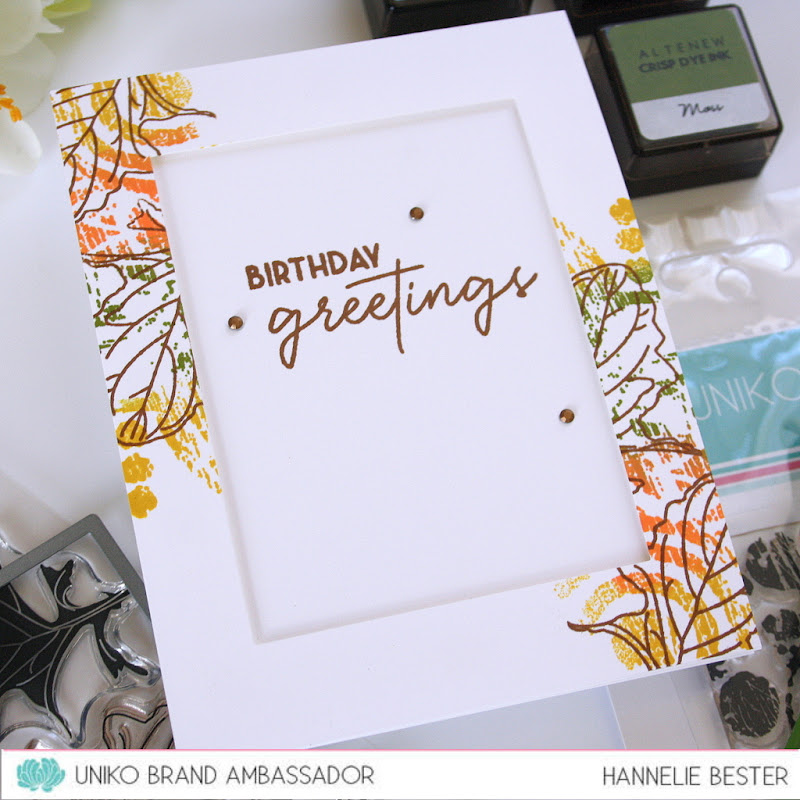
Brand ambassador inspiration - Leaves and geometrics

 Hi there!

Hannelie here bringing you inspiration for your Autumn cards !

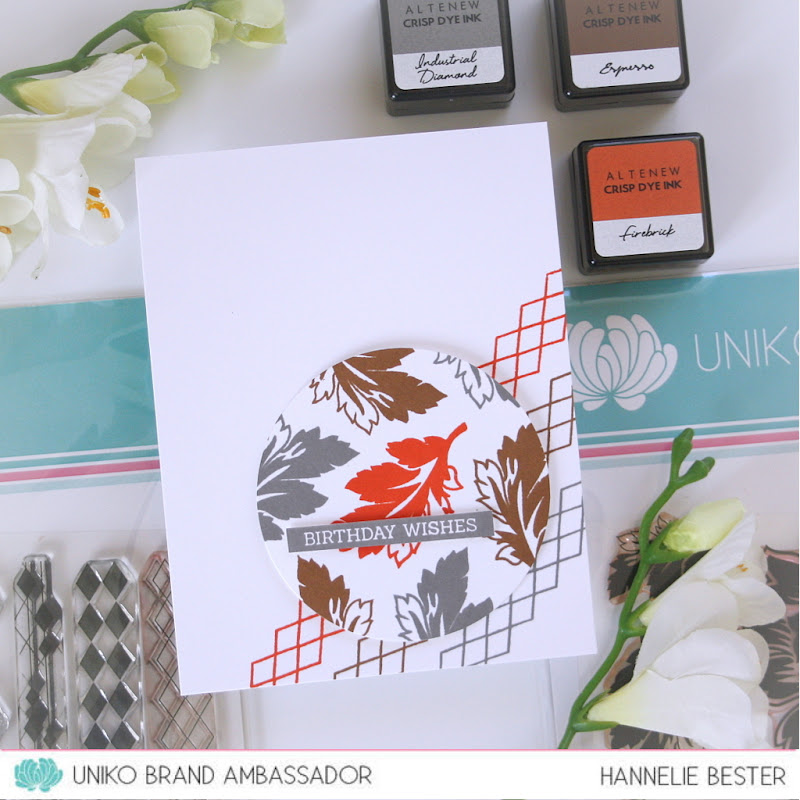
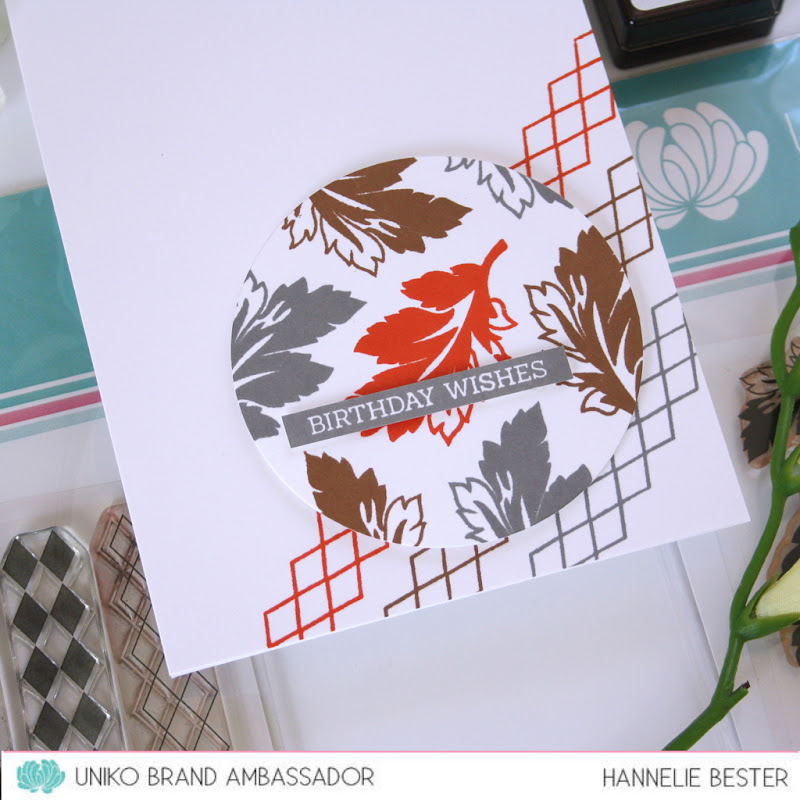
I went through my Uniko florals and found beautiful leaves in there which I combined with different geometric background sets. Love how it turned out !


Here's the first card :


For this card with a more masculine feel I used :


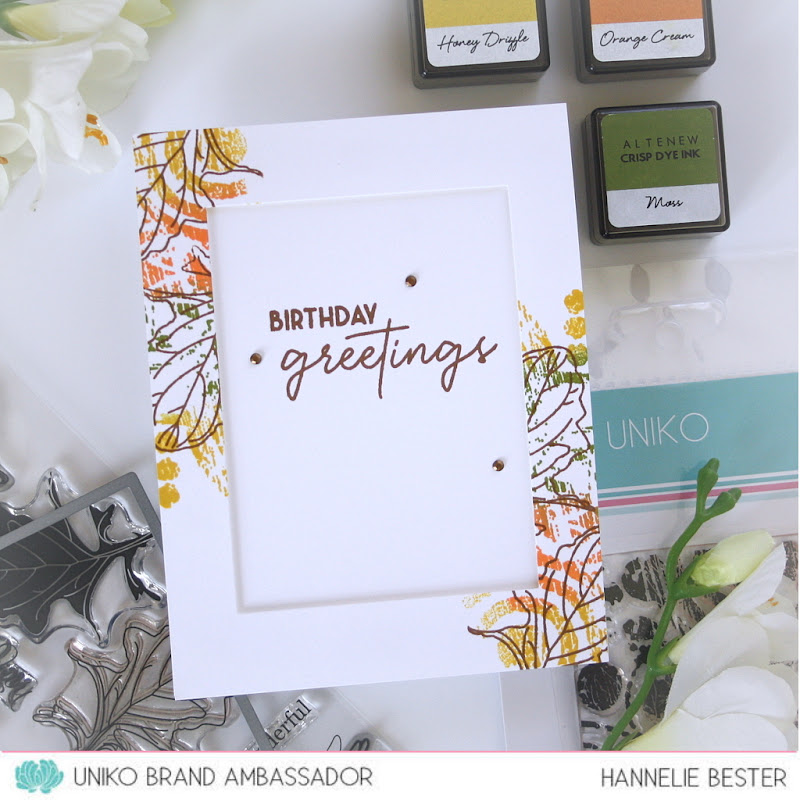
Second card :


For this elegant card I used :


Third card :


For the last card I used :


I hope you feel inspired to take a closer look at your floral sets... there are beautiful leaves in there waiting to shine as focal point on your cards... for ANY season!

Wishing you a beautiful day and week ♥

Hannelie


Saturday, 18 July 2020

Happy Graffiti Explosion - Uniko Guest Ambassador Tara Cardwell

Happy Weekend! 

I’m thrilled to be guesting for Uniko today and couldn’t wait to get one of my favourite of their stamps all inky – the Background Blocks Graffiti Texture is such a great way to add maximum impact for minimum effort!


For my first card I started with a white base card and stamped the graffiti background twice underneath each other with the card in portrait orientation in Speckled Egg Distress Oxide ink rotating the stamp for the second imprint so the swirls form an S shape in the middle.


Next, I turned the stamp and inked it up again this time in Peacock Feathers Oxide and over stamped the speckled egg in the top right corner.  This fills 75% of the card but to cover it completely I masked off the edges and stamped the image another 3 times until the whole area was complete.   Lovely textured background complete.

For the focal image I used the Explosion! and Explosions Additions sets stamping onto teal card and embossing with copper powder (hero arts) before fussy cutting the explosion.   Fun and funky way to tell a guy he’s awesome!


For the second card I wanted to take the background one step further and to make it more masculine by going for a camo feel.  I did this by starting with a sand base card and stamped in Versafine Clair Shady Lane and Verdant greens following the same pattern as the blue version.   

Once that was full dry (I cheated it with a heat gun)  I masked off the edges and then stamped across the two corners with the same stamp in versamark  and added gold embossing powder.  To get a rough feel I rubbed off the straight edges in the middle of the card so the embossing looked more rustic before heating it.   

The focal point this time came from the Big and Bold Happy stamp and die bundle with the die cut happy and a stamped and embossed birthday sentiment.   I do find it awkward to find non-twee images for boy cards and these graphic styles from Uniko really hit the mark!

Thanks for reading – happy crafting

Tara

Wednesday, 20 February 2019

DT Inspiration ....... Using your stamps with your stencils

Happy Wednesday ......

It's Linda here, with a little bit of  midweek inspiration for you.
I'm going to be showing you a closer look at one of the cards from last weeks fabulous new product release.

I hope you all enjoyed the Birthday celebrations, and the new release.  Did you manage to get a hold of your favourites and add to your Uniko stash?  I do hope so.
If you haven't joined in with any of the party fun then there's still plenty of time.  The closing date for the Birthday Linky Party, the HUGE Birthday Giveaway, and the Birthday Blog Hop and Treasure Hunt is Thursday 28th February.  Check out the links for all the details, and you could be one of our prize winners announced on March 1st.

OK ........ a couple of my favourites from the new release were the brand new Abstract Triangles stencil, and the new Background Block - Graffiti Texture.
Two great additions to your craft stash ..... and I love how well they work together


Here's a really quick and easy card, using the stencil to create the background design, then adding some detail using the stamp.

I placed the stencil over a piece of white cardstock and secured with low tack stencil tape.  I then added the colour by using Distress Inks and a stencil brush ...... starting at the bottom with Shaded Lilac and moving on to Wilted Violet as I worked my way up to the top, creating a sort of ombre look


I removed the stencil and cut the card down to size leaving a thin white border around the edge. The stencil used in full, is the perfect size to fit a 6x6 finished card.

Using low tack stencil tape I then masked off the edges of some of the triangles before using the Graffiti stamp to add the detail.  To keep all the colours co-ordinating I used Wilted Violet  again for the stamping, only this time I used the Distress Oxide version.  If you haven't tried the oxides for stamping with, give them a go, they stamp beautifully!


I pleced my stencil back over the design before adding a few spaltters of black ink here and there for a little more interest.

The sentiment is from the new Birthday Wishes set, stamped in black and then die cut.


With the metal die still in place, I used the Distress Inks to add the colour around the edge, and then attached it using foam pads for dimension.

I do love this new sentiment set ..... great for the outside of your cards but also perfect for using on the insides too .....


And you don't always have to use all of the stencil design ...... a bit of masking before applying the ink means you can use just part of it to add a little matching detail on the inside.

Look at your stencil designs and see which ones you can use alongside your stamps.

Thanks for popping by .... have a great day.

Cheerio until next time ......