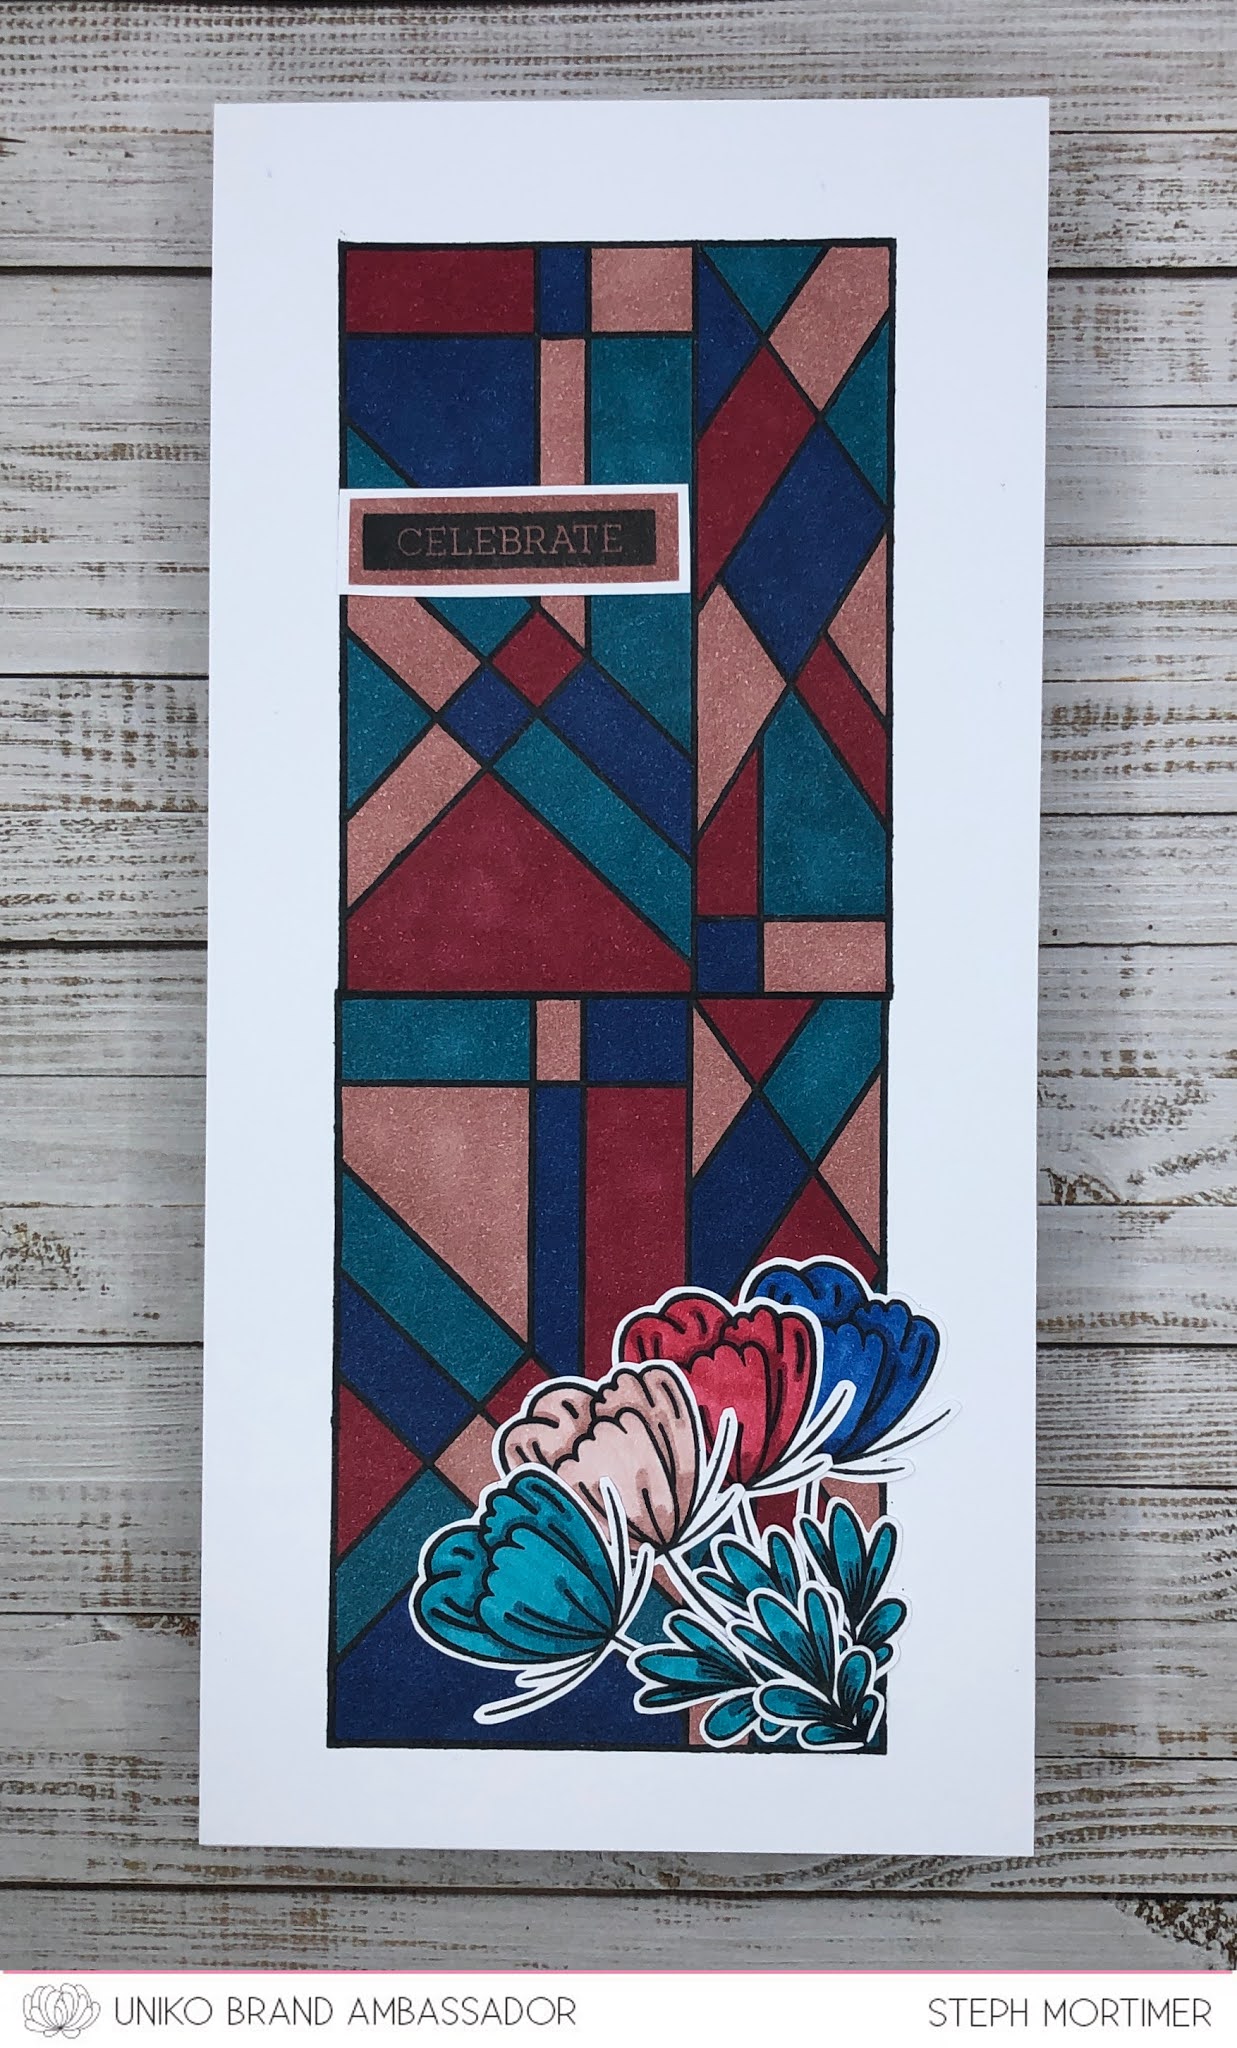
Tuesday, 10 August 2021

Brand Ambassador Inspiration - Mid Century Modern Florals

Good morning everyone!

Thanks for joining me (Steph) today as I showcase three cards using the Uniko Mid Century Modern Florals stamp set.

My first card really captures the essence of Mid Century Modern and I kept the colour scheme simple, in keeping with the MCM style.

I have stamped up various flower stems, leaves and heads in black and added a simple strip of washi tape to the left and a green stamped sentiment from the Uniko Simply Said Blocks II stamp set.

For my second card, I wanted to show an alternative way to use the stamp set so I have created a garland of four leaf clovers for a good luck card. 

Finally, I used some of the leaf stamps to create a Christmas wreath! 

I started off by drawing a circle in pencil (later erased) and free stamped the green leaves before adding in the red ‘berries’.

I hope these cards show how versatile the Uniko stamp sets are and inspire you to ink up the Mid Century Modern Florals stamp set soon.

Much love

Steph x

Friday, 6 August 2021

Friday Focus & a WINNER!

 Hello & Happy Friday! 

It's a soggy one here today & the perfect kind of day to spend in The Studio. I though I would do a Friday Focus post and give some love to another of the Uniko July 2021 Release stamp sets, before I announce the winner of the Release Day Blog Hop

I felt I neglected the Background Blocks Diagonal Stripes a little during the release, mainly because I misplaced a card I had made in the chaos, which I have now located - haha! So that is what I have chosen as my focus today.


Stripes are such a handy pattern for so many occasions and I think they can be paired with literally anything. From florals, to foliage, cutesy and more. 

Here is a look at the misplaced release card I had made...


I combined the diagonal stripes with the Stencil Tropical Leaf I, which I spent ages fussy cutting out after I had inked it in green and then added a sparkle embossing paste over the top. 


I finished the card with a sentiment from Simply Said Blocks III. I had some help from the Brand Ambassadors for the sentiments in this set, I think they are super useful and appropriate for the current times.

For my next card I was inspired by THIS card I made using the popular Background Blocks Horizontal Stripe.


This time I shifted the focal background block pattern and added in more of a second colour. I still used Pure Florals Cosmos and but the sentiment is from Doodle Flowers.


I love this Buttercup yellow from Concord & 9th, so it influenced my next card for today...


I was aiming for statement stripe and I think I achieved it! I knew after I had stamped the Background Block Diagonal Stripes that I wanted to used the BIG & BOLD Wish Designer Dies, but I did procrastinate for some time on the angle.


As you can see I opted to keep the wish level. The BIG! sentiment is from the coordinating BIG & BOLD Wish clear stamp set.

Lastly for today I went for something a little different and more of an experiment. I wanted a grunge look, aiming more to have less of a blocky feel, but although it turned out a little different than I had imagined, I went with it.


I applied Concord & 9th Mushroom ink to the stamp slightly and more to the centre of the stamp. I then used my stamp shammy to dab off the ink slightly. I really like the mottled effect and it picked up some of the aqua colour off the shammy from my second card! 


I finished off the card with some previously stamped and coloured flowers from Doodle Flower and Background Blocks Doodle Flower, but added in some leaves from Flower Power #6 for a more chunkier feel.

That's all the cards I have to share today, but before I go, how about a winner for the July 2021 Release Day Blog Hop! Thank you to everyone that took the time to hop along and leave a comment, they are truly appreciated.

Without further ado, the lucky random comment is...


lovely designs!!! the first one is my favourite – love the colors


Congratulations Dee! Please email me at bev@uniko.co.uk no later than Sunday 15th August 2021 with your postal address to claim your prize.

Thanks for stopping by today!

Crafty Hugs


Wednesday, 4 August 2021

Brand Ambassador Inspiration - A Favourite Technique

 Hi!

It's Jane here today with a little tutorial using my current favourite technique.

Here's my cards:


I really love how the background colours make the uncoloured image pop.

So let's start with the Paradise Hummingbird card.

  1. Stamp the image.

2. Stamp the image onto masking paper, hand cut and apply over the first stamped image.


3. Apply strips of masking paper around the image to create a rectangle that is smaller than the stamped image.

As you can see theses strips are well used and very inky!


4. Apply ink all over the masked off rectangle. I usually use three colours and blend them well. I really like Memento colours as they blend beautifully, but I do use distress or distress oxides too.


5. Peel off all the masks to reveal the result.


6. Stamp a sentiment and matt and layer to finish off the card.


The other two cards were made in the same way, but using die cut shapes. I did try using masking paper for these, but found it too difficult to remove such a large area without tearing the card underneath. So I just use plain paper instead.


My dies had a stitched outer edge and I really like how the ink picked up on these tiny stitches.


The heart card uses the flower from You Are, Yes You and the circle card uses the iconic Uniko flower from Flower Power #3. The sentiments on all three cards are from You Are, Yes You.


Thank you so much for your time today. I hope I may have inspired you to give this technique a try. Please share anything you create on social media using #unikoltd.

Stay safe and keep crafting!

Jane
x


Tuesday, 3 August 2021

Two For Tuesday - Natures Treasures II

Hello & Happy Tuesday! 

Last week when I was having a crafty session I was inspired to ink up Natures Treasures II. Even though a new foliage stamp set is long overdue, this one will always be one that I reach for. I seem to have a favourite leaf image in the set which, not surprisingly I have used for both my cards today!


For my first card today I did a lot of fussy cutting. As much as I do love fussy cutting and find it quite relaxing, coordinating dies at this point would have been super useful! 


I'm loving the Concord & 9th inks at the moment and having bought the mini cube collection they come in a handy case. So having all the colours to hand in the case on my desk make for quick selection and stamping! 


Apart from the fussy cutting, the addition of wanting to adhere the leaves using foam adhesive took some time too! But I love the slight dimension of the 1mm thick foam adhesive squares and the shadow it creates.

I dug out an old piece of Papertrey Ink Soft Stone card for my mat layer. I love how it makes the white card stock shine a little brighter. I must get round to ordering some more, as nothing I have purchased since almost running out of it compares as nice! 

For my second card today, I opted for something a little quicker! I also used the same colours. Just a simple bit of masking, a stripe of the Soft Stone card again and a different sentiment with my favourite Nuvo Drop embellishments. 


Super simple, but I think it is effective and makes a statement just as much as the first card. 


It was certainly fun to give some fresh inky love to this clear stamp set. In hindsight I should have used the other larger leaf for my second card. But still, it's good to see how you can use the same image in different ways with the same supplies.

I hope you have enjoyed my inspiration today. Thanks for stopping by.


Crafty Hugs


Sunday, 1 August 2021

Stencil Sunday - Rainbows & Clouds

 Hello August & Happy Sunday! 


I'm here today with a couple of cards I've made using the Stencil - Rainbow & Clouds from the July Release. If you missed it you can catch up HERE and there is still just time to comment along the hop to win too ;)

I had LOTS of ideas with how to use this stencil, but end of school chaos, start of the holidays and release prep stopped me from getting them made. However, I had a few hours to myself on Friday evening and got to playing & getting a couple of them made to share with you. 


When I first started using stencils I kept very basic and rarely used anything other than ink or embossing paste and embossing paste was very sporadic too! It wasn't until I saw Brand Ambassador Wiebke use pencils and fine liners with stencils, that I started to think outside of the box and use them like I would stamps to create cards. 


So for this card I used Concord & 9th Aqua Sky card for my base and drew inside the clouds using a Bermuda Bay marker from Stampin' Up! I then inked through the largest rainbow using a variety of C9 ink colours. It was a little time consuming, but fun to do.  A sentiment from Simply Said Blocks II, some twine, foam adhesive and some Nuvo Drops finished my card off.


For my second card today I couldn't resist going back to using Gina K Designs Pastillage Texture Paste. This stuff is SO much fun! Last time I used it for my card HERE, I used a white background. But the beauty is you can apply it onto a coloured card base and add colour, like I have today.


I just love how vibrant the ink colours remain when applied over the texture paste. This little panel of rainbow sure made me happy on a dull rainy day! 


I couldn't resist using this sentiment from Reach For The Stars, it was just made to be combined with the rainbow and the little trio of stars from the set.


So many more ideas floating in my head, but I will save those for another day ;) Until next time, thank you for stopping by today.

Crafty Hugs

Saturday, 31 July 2021

Brand Ambassador Inspiration - Christmas in July

Hello

It's Wiebke here with a new Brand Ambassador Inspiration for you!
Time for "Christmas in July"!


For this card I masked a tree shape with masking tape, coloured the area with Distress Crayons and blended them with a bit of water. I carefully removed the tape directly after the blending process.
It depends on which paper and which tape and how much water you use if it's better to remove it immediatelly or if you should wait until it is dried completely! Please try out the fitting technique for your supplies!

The colours I used were: lucky clover, peacock feather, mermaid lagoon, salty ocean, broken china and tumbled glass.

When everything was dry I added a glitter halo around the tree shape with Wink of Stella Brush and also seven sparkling circles of white glitter paper which I fixed with little metal brads.
I tried to find brads fitting to the colours of the tree in the area where I placed them.


The sentiemnt is from the Simply Said - Christmas Set.
I'm so sorry I just recognized too late I used a set which isn't available any more, but Beverly designed also several other great sets with Christmas sentiments so you can simply replace this beautiful sentiment with another one you like!

I stamped the text with Distress Ink in lucky clover and traced the lines with a sparkling roller ball pencil from Sakura in the colour clear star.

To add a bit of sparkle I like both - the Sakura Gelly Roll clear Star and the Kuretake/Zig Wink of Stella brush in clear. The brush is great for bigger areas and the Pencil is perfect for smaller stuff like tracing lines of sentiments!


To finish the card I cut the panel a bit smaller than my cardbase.
I embellished the cardbase on both sides with a striped washi tape in clear + turquoise and then placed the tree layer with dimensional tape.

I like this technique, cause it's quick and easy to make.
You can individualize your cards so easy with

  • different colour schemes, 
  • different embellishments on the tree like rhinestones, sequins, stars, ...
  • different stripes on the side - washi tape, patterned paper, simple colored paper, ...
  • different sentiments
    Uniko has a big variety of christmas greetings in many different fonts and sizes!
  • different possibilities of sentiment-styles - just stamp it, make it sparkle, heat emboss it, ...

For a smaller tree, you can use the Christmas Pop Trio Stencil insted of the masked tree shape.

Hope I was able to inspire you to get some ideas for your Christmas Cards!

Stay crafty!
Greetings from Wiebke

Friday, 30 July 2021

Uniko Challenge Reminder #66 - Flowers + optional twist Slimline

 Hey!

The Uniko Brand Ambassadors are here today to remind you about the July/ August 2021 Uniko challenge.


Challenge Guidelines:

* You can use any products/stamps to enter the challenge, but we do LOVE to see you use your Uniko products. Plus, there is an extra chance to win a prize if you do ;)

* Email entries welcome, just email a photo of your card to bev@uniko.co.uk and I will add it to the Uniko Flickr gallery and link up!

* Share the challenge graphic in your post and link back to the challenge if possible ;)

We're delighted to welcome back Dhruvika as our Guest Designer for this reminder post.


How stunning is Dhruvika's card! If you pop over to her Instagram feed you can see all her other awesome cards too - HERE.


Hannelie


Now, if you need more incentive to play along with the challenge here are the details of the prizes.  

THE PRIZES
  • Main Winner Chosen By The Brand Ambassadors - £15 eGift Certificate
  • Random Twist Winner - £5 eGift Certificate
  • Random Uniko Stamps Winner - £5 eGift Certificate
  • Top 3 Chosen By The Brand Ambassadors - 150 Loyalty Reward Points

There is plenty of time to join and play along with this challenge. 
The deadline for submission is midnight (GMT) on Friday 20th August 2021.

Crafty Hugs