


Today I'll show you how to improve your blending skills with the help of a Stencil.
Do you like ink blending? - NO?
Why?- The smooth blending between different colours is always difficult!
When you agree with these answers, I may have a great solution for you: Take a stencil, Inks and a Blening Tool and give it a try!
I'm sure the result will show you, blending is something you can learn.
When you aren't familiar with blending, you can start with a pure mono cromatic card to get a feeling for this kind of "colouring" and add more colour(s) in the next projects.
The colours should be different shadings of the same colour family (like light blue + blue + darker blue) OR colours adjacent in the colour wheel (like yellow + orange + red / yellow + green + blue / a whole rainbow of 6 colours).
I love to blend with Ranger Distress Oxide Inks, cause they blend really easy and they forgive you a lot...!
This doubles the positive effects for this blending-project!
Mandala stencils are perfect for beginners, cause we'll work in circle motions, fitting to this form.
The first step you have to do is to avoid any movement of the stencil. I love to take a soft painters tape to fix stencil and paper together. When you finished the blending it's easily removable without any tearing of your finished Mandala.
Now we start the blending. It doesn't matter if you start with the lightest or the darkest of your colours and also, if you start on the inside of the Madala or the outer edge.
But it's important to move your hand in easy circle motions over the paper and add the colours - one after another. You can add colour several times to get a darker shading.
Avoid spressing the Blening Tool with lots of power into the inkpad - the more ink is in the blending foam the worse the blending will be.
To get soft colour-gradients, layer the colours one over another on the edges of every area.
So, what's the miracle?
Stencils have little areas with crisp edges and you won't see smaller "uneven" blendet areas as clear as on plain paper. The white lines and areas are so helpful and seperate the areas for you!
After you have cut the finished paper down to the size of your cardbase, you can start to embellish the Mandala with little pearls, rhinestones, enamel dots,... or selfmade dots (Stickles, Nuvo, ...)
You also can conceal tiny little mistakes with your embellishments if necessary.
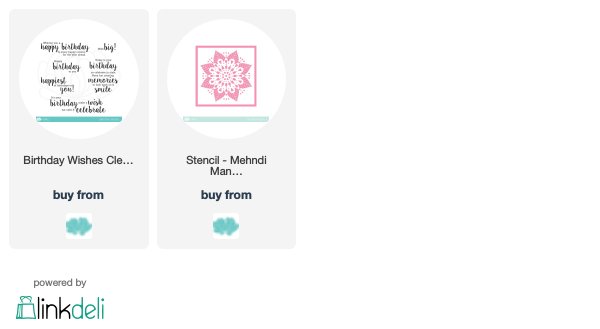
For both of my cards I used the same Stencil - Mehndi Mandala and a Sentiment stamp - out of the NEW set Birthday Wishes.
But ee how versatile these products and how different the cards are!

The yellow Mandala reminds me of flowers or sunrays. I think we all crafe for spring and warmer temperatures, right?
For the Mandala I used hese Oxide Inks: squeezed lemonade, mustard seed and wild honey.

The sentiment is stamped on an extra piece of paper and then cut and folded to a little banner. To get a bit dimension it's adhered with 3D pads.

The blue Mandala looks like a snowflake or icy crystal. Perfect for birthdays in the cold winter time!


I stamped my sentiment with the darkest of the Oxide Inks and added immediatelly clear embossing powder.
For the Mandala I used these Oxide Inks: mermaid lagoon, broken china, tumbled glass.
Hope you like this kind of project and you'll give it a try!
Happy greetings from Wiebke
Wow! Fabulous tutorial and two amazing cards.
ReplyDeleteGreat tute Weibke and two fab cards. :)
ReplyDeleteBeautiful cards! Thanks for the tips 😊
ReplyDeleteBeautiful cards! I just welcomed this stencil into my collection; looking forward to giving it some inky-love!
ReplyDeletehugs~c
Gorgeous cards! Thanks for sharing the hints!
ReplyDelete