Hi!
It's Jane here today with a little tutorial using my current favourite technique.
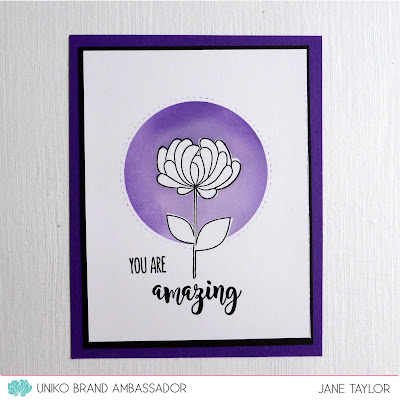
Here's my cards:
I really love how the background colours make the uncoloured image pop.
So let's start with the Paradise Hummingbird card.
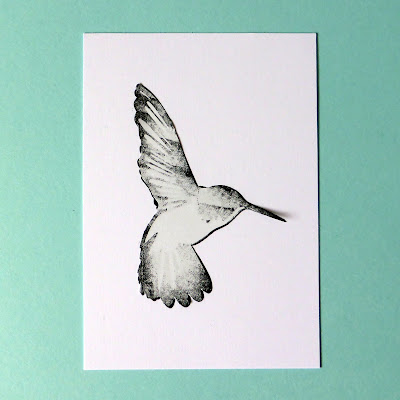
- Stamp the image.
2. Stamp the image onto masking paper, hand cut and apply over the first stamped image.
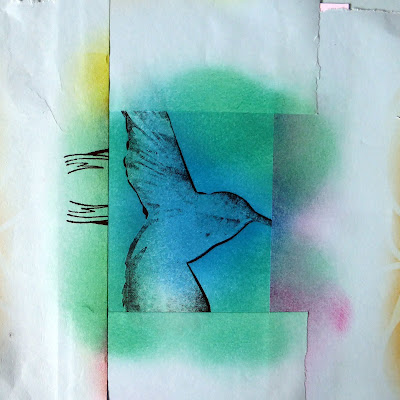
3. Apply strips of masking paper around the image to create a rectangle that is smaller than the stamped image.
As you can see theses strips are well used and very inky!
4. Apply ink all over the masked off rectangle. I usually use three colours and blend them well. I really like Memento colours as they blend beautifully, but I do use distress or distress oxides too.
5. Peel off all the masks to reveal the result.
6. Stamp a sentiment and matt and layer to finish off the card.
The other two cards were made in the same way, but using die cut shapes. I did try using masking paper for these, but found it too difficult to remove such a large area without tearing the card underneath. So I just use plain paper instead.
My dies had a stitched outer edge and I really like how the ink picked up on these tiny stitches.
The heart card uses the flower from You Are, Yes You and the circle card uses the iconic Uniko flower from Flower Power #3. The sentiments on all three cards are from You Are, Yes You.
Thank you so much for your time today. I hope I may have inspired you to give this technique a try. Please share anything you create on social media using #unikoltd.
Stay safe and keep crafting!
Jane
x


Smashing inky technique. Thanks for sharing. Striking and stunning results. Will have to have a go!
ReplyDeleteHugs, Sarn xxx
I love these, they are amazing xx
ReplyDeleteBeautiful cards Jane. A great way to add colour to the card without having to colour the stamped image. X
ReplyDeleteFab idea Jane. Love the stitched effect too. Hugs, Sue. x
ReplyDeleteThese are so beautiful Jane! Thanks for sharing the techniques ❤️
ReplyDelete