Showing posts with label Alcohol inks. Show all posts

Tuesday, 8 July 2025

Brand Ambassador Inspiration - Christmas Tree Tuesday

Good morning, 

Steph here with my Uniko Brand Ambassador Inspiration post. We are focusing on Christmas in July this month and I have specifically chosen Uniko stamps which include Christmas trees. 

To start off I heat embossed the Uniko Background Blocks Arts Decoratifs Christmas stamp. I then used a craft knife to cut some apertures behind which I laid different colours of tissue paper. The idea being that the light could shine through the tissue paper like a stained glass window. 


For my next card I used Uniko Rustic Christmas stamp set and created a 'forest' using different colour inks before decorating my main tree with fussy cut small elements from the stamp set.


And finally a super quick card made using the outline tree from the Uniko Christmas Pop stamp set and coloured using alcohol markers. I then teamed this with a sentiment from the Uniko Christmas Wishes set.


It's never too early to start your Christmas cards! And hopefully there is a style here to suit most tastes. 


Much love
Steph x

Monday, 9 June 2025

Brand Ambassador Inspiration - Monday Blues

Good Morning, 

Steph here today with my Uniko Brand Ambassador Inspiration post for June. As we are focussing on masculine makes this month, I have dug out some older Uniko stamp sets and focused on blue hues. 

My first card uses the Uniko Block Party Coffee Love stamp set. I started by sweeping my white card with a light grey cube ink pad and then stamped and coloured the image. I added faux 'planks' using an embossing board before attaching to a card blank using foam pads. 

Sticking with the grey ink and blue alcohol markers, I changed my stamp to Uniko Background Blocks Equaliser stamp set. I used the sentiment and the extra musical notes stamps from the set to finish off the card.

And finally for today, I created a birthday card with the Uniko Up & Away stamp set. I stamped the hot air balloon and basket before colouring in and fussy cutting out. I attached this to piece of card on which I had stamped clouds, the flag tail and the sentiment. 


That's all my cards for today which hopefully has given you some masculine inspiration for Father's Day this coming weekend (in the UK).


Much love

Steph x 

Tuesday, 12 November 2024

Brand Ambassador Inspiration - Fairy Lights

Good morning, 

Following on from the lovely new release from Uniko at the end of Oct, one stamp really called out to me and that was Uniko Framed - Fairy Lights. I have used this stamp for my Brand Ambassador inspiration post this month and found that it teams very nicely with Uniko Mid Century Modern Baubles


Here I have heat embossed the fairy lights using red glitter embossing powder and coloured the lights in using a green alcohol marker and silver and gold gel pens. The bauble and sentiment are also heat embossed. 


This card is similar to the last one but I have used green glitter embossing powder instead and also used the embossing powders for the bauble and sentiment. 


Switching to gold embossing powder and colouring the background in meant I could leave the bauble white to let it stand out. 


Finally I used the fairy lights stamp in a landscape setting and stamped using dye ink. I coloured the lights using alcohol markers and added some shimmer with a Wink of Stella brush pen. 

I hope you loved the new Uniko release as much as I did. Look back on the Uniko blog to see lots and lots of brilliant inspiration from the Brand Ambassadors during the release introductions.


Much love
Steph x

Sunday, 9 June 2019

DT Inspiration - Alcohol inks, stencils and Bold sentiments

Bonjour !

Izzy here ! This year I wanted to try alcohol inks and I'm just starting to discover all the possibilities they offer. So today I wanted to show you what I've done with my alcohol inks, texture paste, stencils and bold sentiments die cuts.

What I love with the AI is that their colours are very bright and used on Yupo paper (or similar), they give a beautiful bright and shiny look. I had to try a technique I saw on Jennifer McGuire blog to make great backgrounds.

Here are my cards...


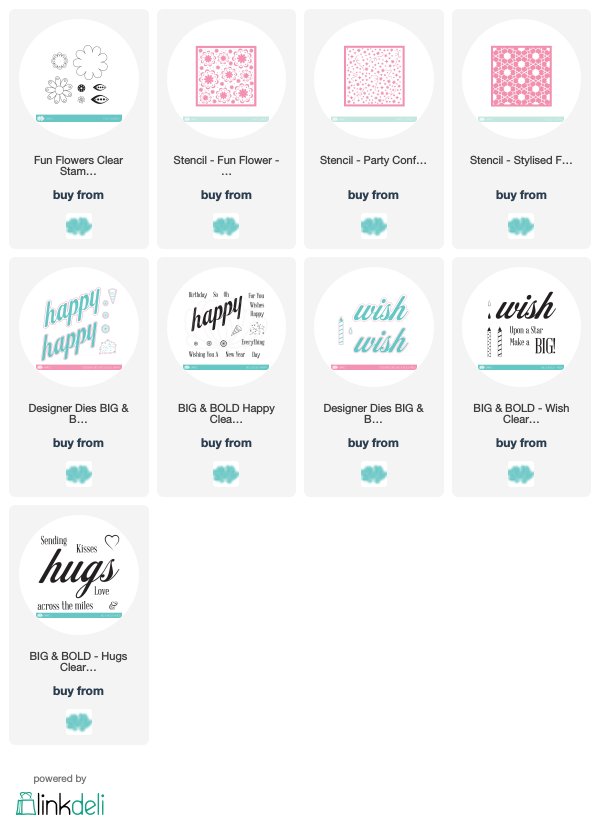
For this card I used the Fun Flowers stencil together with the Fun Flowers stamp set. On a Yupo paper I popped texture paste through the stencil and let it dry. Meanwhile I stamped the Background blocks : pinstripe in black over the white card base, I die cut the Big & Bold : Happy sentiment in a black paper and I stamped in black the flowers of the Fun Flowers stamp set then fussy cut them.

Once the texture paste dry, on a felt applicator I put 3 alcohol inks, a bit of blending solution and I blended them onto the textured Yupo paper.


Then I adhered this Yupo paper strip over the white card base as well as the bold sentiment. I glued the flowers with Glue dots. To finish I stamped the other part of the sentiment.


For this card I used the Confetti stencil and the Big & Bold : Wish sentiment. I also used texture paste through the stencil and once dry I used my AI and blending solution together with a paint brush to make this sort of rainbow colours pattern. 

The sentiment is also done with AI on a paper similar to Yupo. Once dry I die cut the AI panel with a scalloped die and glued it on the white card stock. I also die cut an oval shape in a white card stock and I stamped the rest of the sentiment on it. To finish I die cut the bold sentiment and glued it onto the white oval cut.

I really love these bold sentiment dies, and I really hope that Bev will release some more for the other bold sentiments of the collection. 


So for my last card I had to create the die cut of the Big & Bold : Hugs stamp. It is long, tedious and much less beautiful than a real die cut. Here is how I did it...


For this card I again used texture paste through the Stylised Floral stencil, let it dry and then I randomly sponged the AI with a felt applicator. I cut this panel with a heart shape die and I glued it on the white card stock. Then I glued the bold sentiment on top of it.

To finish my card, I die cut an ampersand, I foam mounted it on the card and I stamped the rest of the sentiment from the Big & Bold : Hugs stamp set.

And that's it ! I still have a lot to learn with alcohol inks but in the end I will find a way to use all these trials on cards ! They are a fabulous background for the Big & Bold sentiments !

Thanks so much for popping by and have a great Sunday !