Showing posts with label Flower Power Stencil. Show all posts

Sunday, 26 June 2022

Brand Ambassador Inspiration - Stencil Techniques Trio

Hi there

Happy Sunday!  Anita here with some stencil inspiration for you.  I love getting creative with stencils and, not only are they an inexpensive addition to your craft stash, they can be used in so many ways, in addition to the traditional ink blending method.

So I've got three different techniques for you using three different stencils from the Uniko range.


Using Pigment Powders and Water


For this technique I always use watercolour paper.  Lay the stencil flat to the paper, I used Flower Power #5 here.  There's no need to use tape, in fact it's best if you don't as the stencil will need to be lifted away easily.  Gently sprinkle pigment powders over the design.  I used Brusho here and just gently tapped the pot and used it very sparingly as there is so much pigment.  Then use a fine mist water sprayer to cover the design and to activate all the pigment.  Do not over-saturate or the water will start to migrate under the stencil.  Just lift it away and leave it to dry.

I finished off by stamping a sentiment from the So Much Clear Stamp Set.


Using the Ghosting/Watercolour Lifting Technique


I ink blended a background using Distress Oxide inks.  For this technique I used the Stylised Floral Stencil.  The stencil was placed over the ink blended panel and then spritzed with water.  Carefully lift the stencil away and leave for a few moments before blotting with a paper towel.  The water will activate the ink and allow the colour to be lifted away.  This generally works best with Distress and Distress Oxide inks as they react with water.

I die cut the panel with a stitched rectangle and heat embossed a sentiment from the Simply Said Clear Stamp Set onto a strip of vellum which was wrapped around and secured on the reverse.


Reverse Stencilling


For this card I've used the Flower Power #1 Stencil.  This technique involves inking up the stencil directly with ink pads and then spritzing well with water before placing it onto the cardstock.  I chose Strathmore Bristol Smooth cardstock for this as it takes water well.  I inked it up with Distress Inks in three shades.  Once placed onto the surface I left it for a short while to let the ink settle into the cardstock.

I trimmed it down and matted it onto a panel of co-ordinating cardstock, leaving a slim border, before adding the sentiment which is from the Simply Said Blocks Clear Stamp Set.  I then added some clear gems to finish.


Thanks for taking a look, hopefully these have given you some creative inspiration.  I hope you enjoy the rest of your weekend.

Crafty hugs

Friday, 28 January 2022

BrandAmbassador Inspiration - Techniques with Kraft Paper, Stencils & Inks

Have you ever used Ranger Distress Oxide Inks on dark cardstock or Kraft Paper?
These Oxide colours are very different to the "original" Distress Inks.
For those of you who havn't worked with one or both inks yet I will try to give a quick description of the differences.

The "original" Distress Inks are water-reactive dye inks with an almost clear formula which soaks into the paper. They are perfect to work on white, very pale or light coloured papers. The darker your papers are, the more it's just like a kind of watermark print you can make with these inks and when the colour of the paper is too dark you can't see the ink any more, cause there is not enough difference between ink and paper.
These translucent Distress Inks are perfect to blend with a sponge, brush or blending tool. The colours overlap, can be reactivated again and again and you can create lots of new colour-shades.

The Distress Oxide Inks are a water-reactive dye and pigment ink fusion, You can use any colour of paper to work on - white, colours, black and also kraft. The Oxide colours are opaque, so they are covering the colours beneath. Many people say, the creamy consistence is even easier to blend than Distress Inks! (Be sure to use seperate blending tools and don't mix the different inks on one tool!)

That's only a very short introduction of these fantastic colours.
I think many crafters know them, so I don't want to write too much "old" stuff. But if you are new to these mediums and have more questions to the inks, please feel free to ask in the comments! I will try to help!


In this top picture you can compare the first three techniques I introduce today to each other.


Let's come to my used techniques!
I used different kind of Kraft Papers - a lighter one, a darker one and another darker one with a bit of structure.
All cards are made with the Uniko Flower Power #5 Stencil and sentiments of different Stamp-Sets like Wonderful Day, Simply Said Birthday, Floral Vines and All Occasion Sentiments #6.

For this first card I used the Oxide Inks directly on the  Kraft paper. They blended well with smoth colour gradients. The colours are: for the petals tumbled glass and salty ocean & for the center squeezed lemonade and mustard seed.
The sentiment is heat embossed in two shades of yellow - matchable to the middle area of the flower.
The details on the center dots are Nuvo crystal drops gloss in Buttermilk and English Mustard.

The all other cards I added a white Unicorn pigment ink from Hero Arts to the paper first, then cleaned the stencil and then I started to bring the colours to the flowers.
Here in the second card I've used the same colours than in the first one. The sentiment is heat embossed with white embossing powder.

For the third card I coloured the petals and the center with Kuretake/Zig Clean Color Real Brushes and then blended them with a watered brush.
The sentiment is embossed with white powder again.

For the fourth card I returned to the Oxide Inks, but to different colours - kitsch flamingo, picked raspberry, festive berries.
This card got a more distressed look! I softly wiped with the white inkpad over the paper and got these light planar marks. Then I used an old Distressing Tool to roughen the edges of the paper before I glued it to the cardbase. I added some white details to the center dots with a Gelly Roll pencil.

I think here with the pink colours it's even more obvious then with the blue colours how great the white ink base workes with the colours! They look so soft now!
I made another picture with a closer look for you:


On my last card for today I enjoyed the white pigment ink and just traced the outline-edges of the petals with metallic Gelly Roll Pencils. I used all the rainbow colours! The center circled I coloured too and added some Glossy Accents to every circle.
The sentiment is heat embossed with Ranger liquid platinum powder on a little piece of paper I then cut to a banner.


Hope you enjoyed this little techniqual journey with me!
Wish you nice and crafty days!

Greetings from Wiebke

Monday, 1 November 2021

NEW Month, NEW Stencils, Giveaway AND an Offer!

 Hello! 

Happy Monday and happy November 😊 What a lovely end to October at the weekend with the Stamping Together Festival. It was strange, but super lovely to be back at the show after two years. Seeing new and familiar faces and sharing our love and passion for paper crafts and stamping.

On Saturday I shared this peek on Instagram of two NEW stencil designs I took to the show. I was intending on releasing them yesterday on the website, but exhaustion from the weekend caught up with me. AND the Beans were super excited about Halloween 😂

Anyway, I am excited they are now available on the website HERE. So let's have a look at the newness with a formal introduction and some samples...


First up is the next addition to the Flower Power series of stencils and Flower Power #5. I am loving the larger size of these modern florals and they definitely breathe new life into the stamps too. 


Then we have Mid Century Modern Shapes. This stencil is the next product in my love for all things Mid Century Modern. I have more up my sleeve that will be coming soon ;) but for now this is a fun addition to the previously released Mid Century Modern stencils and stamps.


So, now I have done the 'formal' introduction to these two beauties, how about some creative inspiration as to how I have used them...

First up some flower power...


For this first card I kept things really simple. I love offsetting these larger blooms off the edge of a standard size card. I love how it draws focus. 


I used Concord & 9th inks in Buttercup, Marmalade and Honeysuckle to blend through the stencil and added a simple sentiment from Simply Said Blocks and Simply Said Blocks III.


For my second card using this stencil I revisited a technique I've used before. Creating a ghost outline by inking through with white pigment ink first. Then removing the stencil and offsetting before inking with your chosen colours. 


It creates this lovely shadow effect. I used Distress Oxide Inks in Kitsch Flamingo and Picked Raspberry. Added a sentiment from Floral Vines (back in stock 22nd November) and some clear Nuvo Drops.


Then I had some fun with the Mid Century Modern Shapes and combined it with a few stamps from the collection, that will be back in stock 22nd November.


For this first card I layered two of the same shape to create a base for my focal point using two shades of pink from Altenew, Pink Diamond and Pinkalicious.


I then created a mask of the smaller shape I had used, rotated the stencil and placed the mask inside the large shape to create a framed image. I accented this with some explosions from Mid Century Modern Florals and a sentiment from Simply Said Blocks. 


Lastly for today I created a super CAS masculine congrats card. Again I used a masking technique with another of the shapes to create this fun design.


I love this starburst / explosion image, which you can also find in Kindness Blooms ;) and again added a sentiment from Simply Said Blocks.


So what do you think? Which is your favourite?

I do hope you like these two new additions to the Uniko Stencil line up 😊  So how about a GIVEAWAY?! 

Simply leave a comment on this post or HERE on the Uniko Website post (or both) for your chance to win these two new stencils plus 1 of your choice from the store. You have until midnight GMT Sunday 7th November 2021 to comment. 

Now, that's not all for today. I have a Stencil Offer from NOW until 5pm Friday 5th November.


Visit the Stencil section on the website HERE 😊 


Crafty Hugs


Tuesday, 12 October 2021

Brand Ambassador Inspiration - Flower Power #1 Stencil

Morning all, 

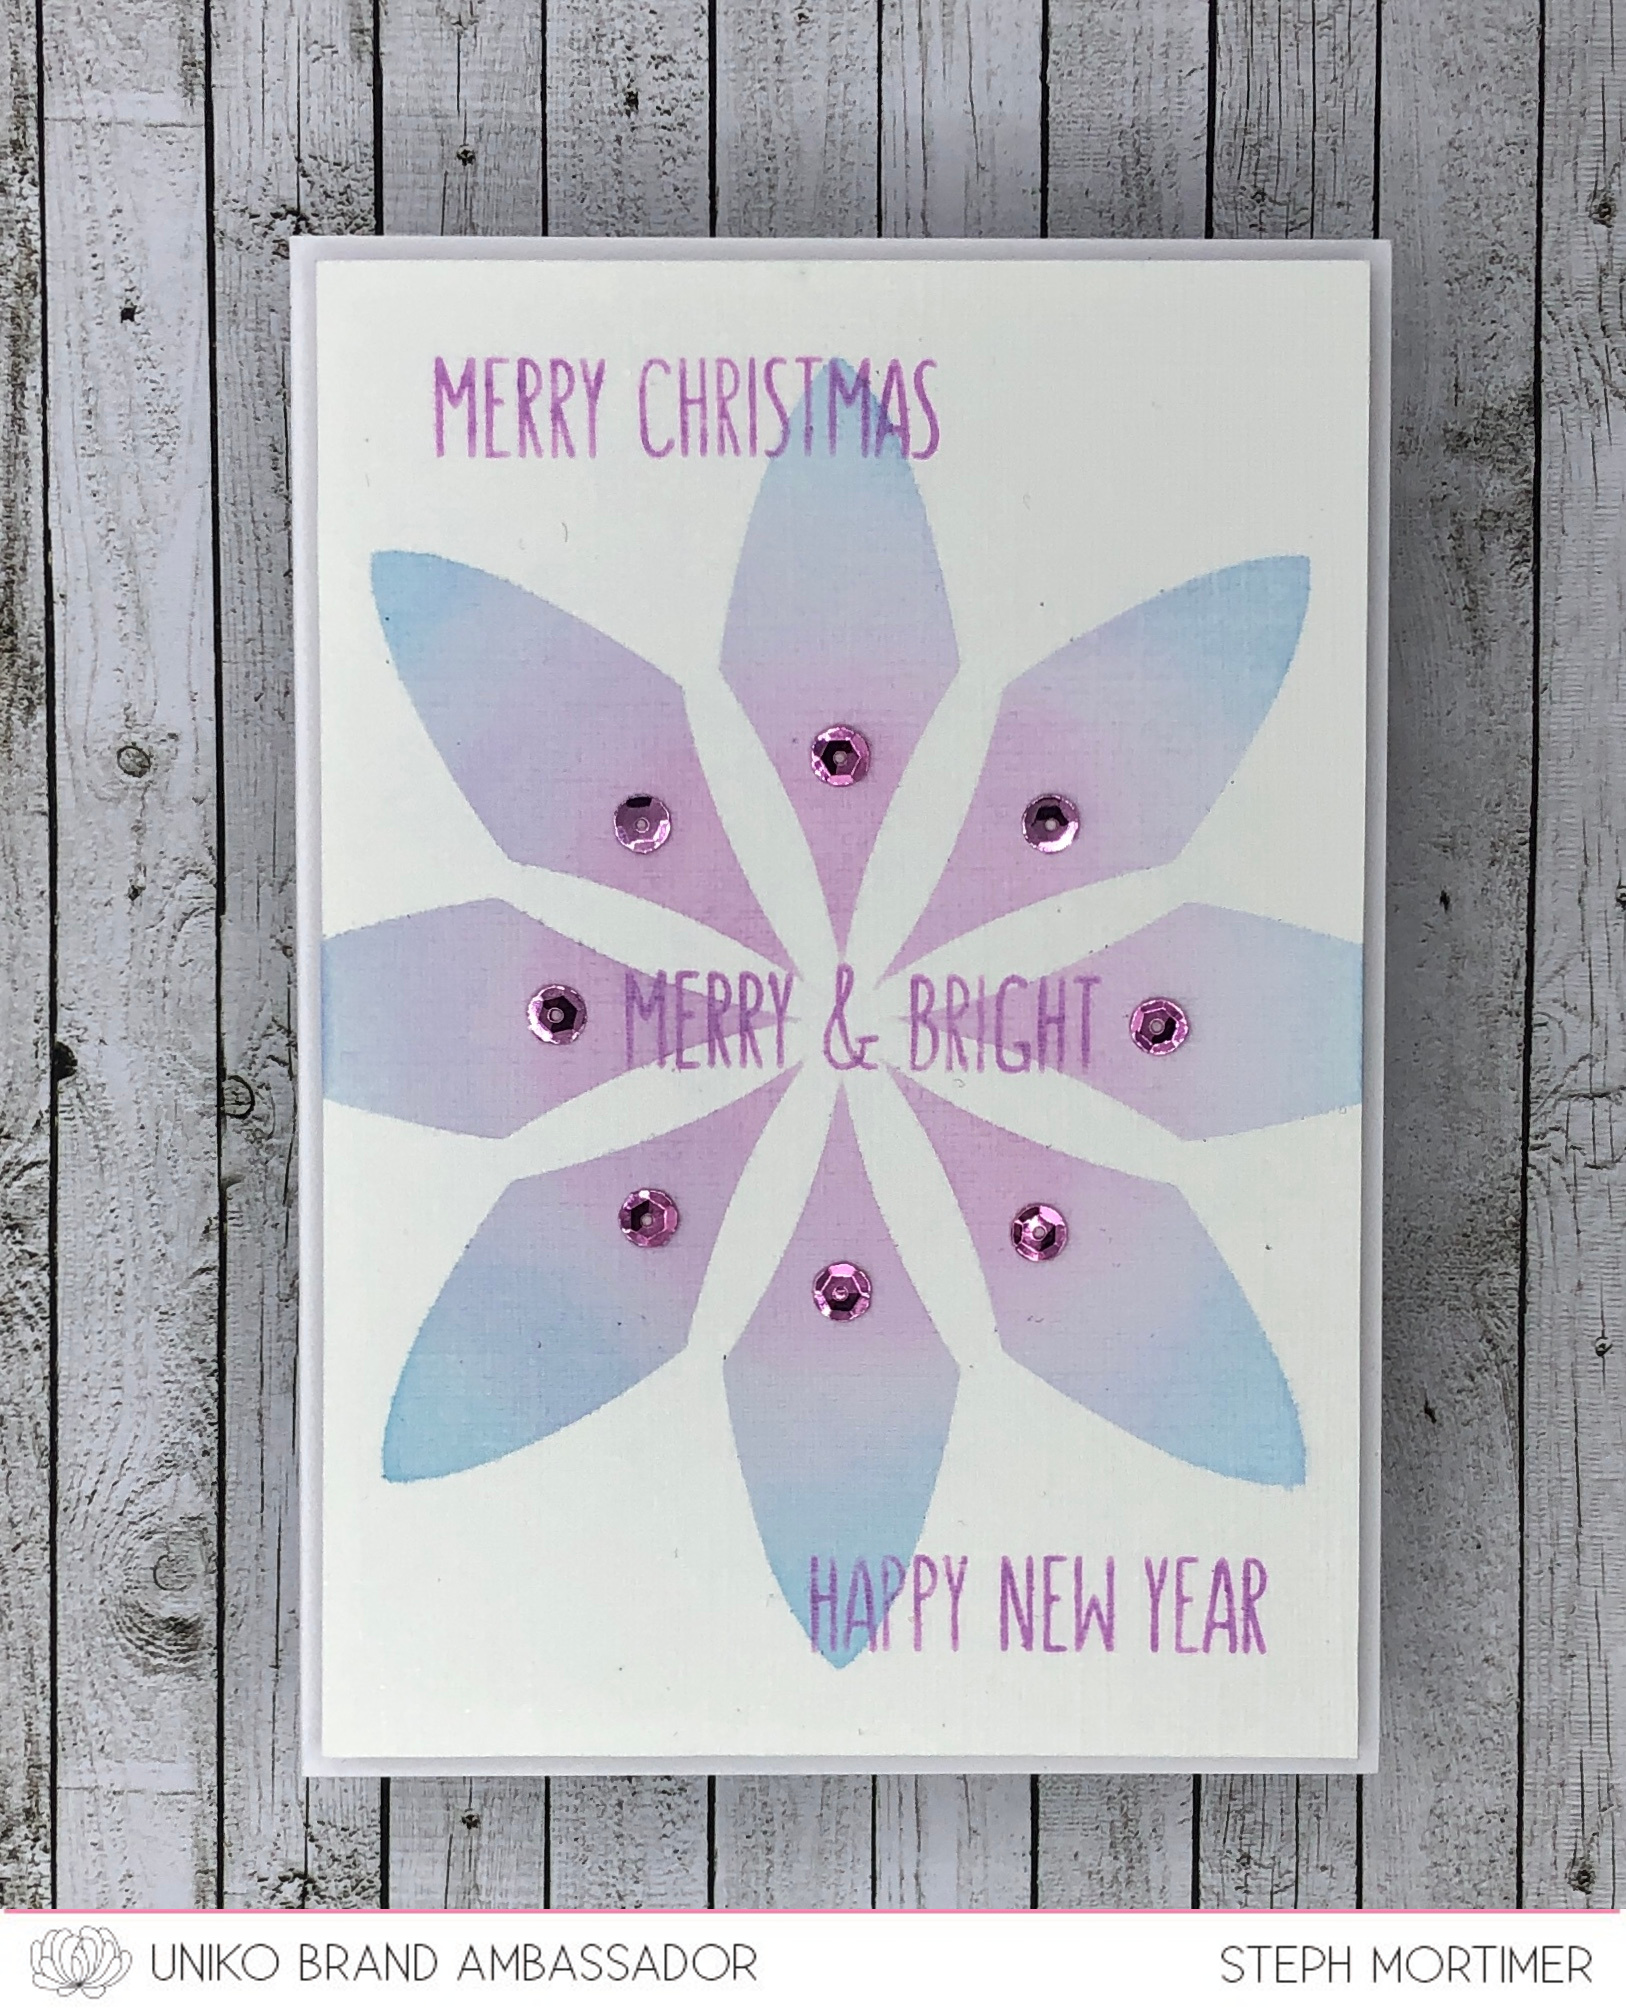
Thanks for joining me, Steph, today for my Brand Ambassador post where I am showcasing the recently released Uniko Flower Power #1 stencil. 

For all three of my cards I have used a blue and pink palette but in different ways. I have also made use of the recently released Uniko Christmas Sentiments stamp set, which I love!


This card focuses on the blue hues and I thought the stencil could represent snowflakes. 


With my second card I added in more pink and highlighted this with some pink sequins. 


Finally I moved the stencil to each corner of my card stock and ink blended a soft mix of blue and pink. This left a nice gap in the centre for lots of lovely sentiments.

I hope these give you some inspiration on how to create a few quick Christmas cards using the stencil and sentiments. They would work well in a number of different colour combinations too. 

Happy crafting!
Steph x


Friday, 1 October 2021

Introducing... Stencil - Flower Power #1

Hello & Happy Friday! 

I am so glad you come back today as we continue the September / October 2021 Release product introductions. Today myself and my awesome Brand Ambassadors have another inspiring blog hop and we are introducing a new stencil, Flower Power #1.

I am delighted to be adding to the Flower Power Stencil line up. The ways the Brand Ambassadors have used this stencil is genius and inspiring, so be sure to hop along with us.

All the products will be available for purchase on Sunday 3rd October at 9am BST. 

Okay, lets get to the good stuff...


Again, WOW! 

I am again, simply blown away by all the inspiration. I love seeing how everyone used this stencil. As much as it reminds me of a poinsettia, its perfect for all year round. 

Be sure to pop back tomorrow for the next of the product introductions.

Crafty Hugs