Showing posts with label Happy Christmas. Show all posts

Wednesday, 20 November 2024

Rainbow Wreath

Happy Wednesday 😃

I'm here today to get you over the mid week hump with a Mid Century Modern beauty. This week Mid Century Modern Wreath Builder is the Card Of The Week product with 15% off HERE

This is the card featured on the website.


I couldn't resist inking it up today but in rainbow colours. It was quite grey and overcast here to start, but by the time I had finished this card the sun had come out. 


I used the same technique to create the rainbow of colours that I demonstrated in my video HERE the other day. I love how it turned out.


Once I had stamped the rainbow I then stamped the outline version of the wreath and heat embossed with Stardust EP. I gave the same sparkle treatment to the bow and sentiment also from the set which I fussy cut and adhered using foam tape.


That's all I have to share today, mummy duties have taken priority with a poorly Bean in the house. I'll be back later in the week with more to share. 

Crafty Hugs


Friday, 11 October 2024

Retro Hex Glitter Baubles

Happy Festive Friday 

Today I have a fun retro Christmas card to share with you. I had this idea last weekend at the Crafterama show in Lincoln. More so when I got my hands on these fabulous and super sparkly Funky Fossil Stellar Pastes.


I knew that I wanted to turn the Ink & Flip Geometric Hexagon Layering Stencil focal point into a bauble. Originally I wanted to create a fully pasted bauble, but due to the depth of the paste, on the flip pasting the line definition inside the design was lost.


So I went with the second option of glittering just one side of each bauble. The colours of pastes I chose are Party Dress and Icicle Dreams, which I thought would pair lovely with Honeysuckle and Oceanside.


Once the baubles were inked, pasted and dried I fussy cut them out. I decided upon the bow from Mid Century Modern Wreath Builder, along with one of the sentiments from the stamp set. I drew the bauble strings with a dark grey fine liner. 


It's not often I go for a DL site card, but I thought the size of the baubles worked better on this. What do you think? 

That's all I have for today, but I will be sharing more over the weekend.

Crafty Hugs


Friday, 13 October 2023

12 Days of Christmas Inspiration & Giveaways - Day 4


Hello & Welcome to the 12 Days of Christmas Inspiration & Giveaways - Day 4

Every Friday, I will have a new Christmas themed card or project to share with you, along with a video showing how I made it. Plus, if you watch the video you will find out what the giveaway is and how to enter for your chance to win 😊 All the videos are HERE on the Uniko YouTube Channel.

This week I have a festive Mid Century Modern card to share...


It was nice to give some fresh inky love to Mid Century Modern Wreath Builder again, I don't think it has been inked since its release.


Quite a bit of fussy cutting again this week, but I spared you from watching and listening to my croaky cold voice! 


I hope you enjoy the video and don't forget you need to watch to find out about the giveaway and how to enter to be in the chance of winning. If you have any festive requests for upcoming 12 Days Of Christmas videos, please add them to the comments here or on any of Uniko's social media.

Crafty Hugs

Monday, 17 July 2023

Merry Monday - Winter Foliage

Hello & Happy Monday! 

Today I was inspired to create a card using the Stencil - Winter Foliage paired with some of the Winter Foliage clear stamps.


I started with the stencil and used a small blending brush from Waffle Flower (shader 0) to colour each of the different elements in the stencil design. I then cleaned my stencil and placed it back over, using Nuvo Moonstone Glimmer Paste to add the beautiful sparkle.


I then embellished the card with a sentiment from Simply Said Blocks Christmas and the holly leaf & berry cluster from Winter Foliage, using the coordinating Designer Dies Winter Foliage to cut them out. Both the sentiment and holly cluster are adhered to the card using foam tape.

That's all from me today, it's back to sorting stock from being in Doncaster on Saturday and preparing lovely samples for the up coming release 😊 Plus all the things I feel I *need* to get done before school is out for summer after Thursday! 

Crafty Hugs

Wednesday, 25 December 2019

Happy Christmas!

Happy Christmas!

Wishing you all a wonderful day with whoever you are celebrating with today and this holiday season.

I wish those with loved ones far away or passed, that you find comfort in the memories you have and share them with those you have with you, so that their memory lives on.


This is one of my favourite makes this year for the Christmas cards. So I thought I would share it with everyone again, wishing I had the time and money to send each and everyone of you one in the post.

But as I can't, how about a little gift for you all instead...


Save 15% on all orders from today Christmas Day, until 9am GMT Thursday 2nd January 2020. Just enter the code MERRY15 into the coupon box during the checkout process and the discount will be applied. 

Please remember to use the code during checkout. The discount can not be applied after orders have been placed. Unfortunately this code will NOT work with any other code, promotional offer or voucher.

Crafty Hugs!

Friday, 25 October 2019

Festive Featured In Friday!

Happy Friday!

It's been a strange week here at Uniko HQ, it feels as though Friday has come round quick, but at the same time it has been a long week!

Today I am sharing about another Uniko feature, this time in the NEW issue of Die Cutting Essentials magazine which hit the stores yesterday.


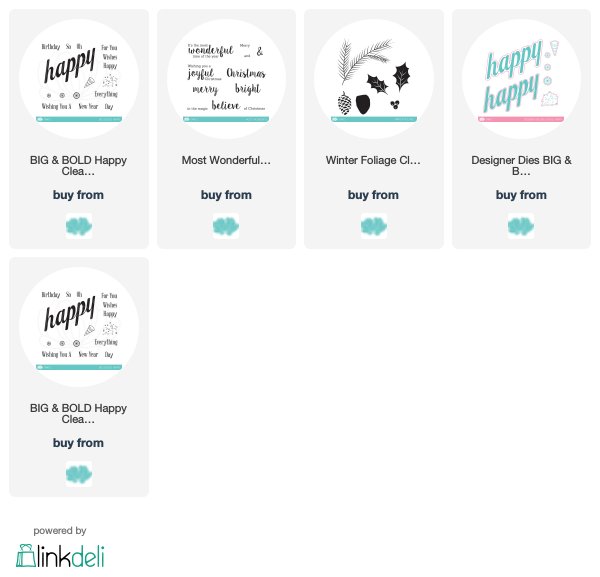
For this feature Kirstie the editor of the magazine wanted something festive, but as I didn't have my newest Designer Die release to hand, I set to using the super popular BIG & BOLD Happy Designer Dies which I released back in February this year.


With this die collection being released when Uniko was celebrating their 7th Birthday and the majority of projects shown using this product have been birthday related, it was the perfect opportunity to show how they can be used for other occasions, including Christmas!

Here are a couple of the cards from the feature in the magazine...


For this first card I used the die which cuts out the word happy and I have paired it with the holly from Winter Foliage and the Christmas sentiment from Most Wonderful. As I didn't have any glimmer or foil card to die cut the word from the match the heat embossed Christmas sentiment, I used VersaMark ink to smother the die cut and heat emboss with the same powder. I repeated until I achieved a lovely smooth coverage.

Next, I couldn't resist making a shaker card! 


For this card I used the coordinating BIG & BOLD Happy clear stamp set for the stamped background and sentiment.

I'm HAPPY to report that the BIG & BOLD Happy Designer Dies are back in stock and available on the website :)

That's all from me today, but I do hope you will pop back tomorrow at 9am to join myself and the Uniko Brand Ambassadors for the October Post Release Blog Hop & GIVEAWAY!

Until then, thanks for stopping by today!
Crafty Hugs 

Tuesday, 5 December 2017

CAS Colours & Sketches #252 - Seasonal Colours

Hey & Happy December!

I can't believe we are into December and Christmas is just around the corner! I'm am SO behind on Christmas preparations amongst all my other 'things to do', I wish time would slow down a little - argh!

Anyway, THIS week at CAS Colours & Sketches we want you to choose a colour combo from all the ones in 2017 and make it seasonal! 


I decided to reuse one of the colour combos when I was hostess this year. This one is from Challenge #230 in July.


This is how I have used them to create a Christmas card...


I thought the colours were suitable for holly & berries, so I dusted off my Background Builders: Winter Vines Additions and used one of the holly leaves pairs and randomly stamped them on half of my card in Lemon Lime Twist ink. I then went in and stamped the berries in Berry Burst. 


The sentiment is from Festive Sentiments stamped in and on Island Indigo. Then I have mounted the panel onto my card base using foam adhesive. Super simple! 

That's all I have to share with you today, but be sure to head on over to the CAS Colours & Sketches blog post HERE to enter the challenge and to see more inspiration from the Design Team.

I look forward to seeing you in the gallery! 
Hugs